Prelude
This blog post will showcase the kind of mods that I did with my keyboard, the Durgod K320 Nebula (RGB variant). The Durgod K320 is a pretty good keyboard that is reasonably priced and it's surprisingly much better quality compared to other keyboards that you can get off the shelf.
Mods that I have done
Keyboard Disassembly
The keyboard is not that difficult to take apart. You'll need the following tools.
- Philips head screwdriver
- Credit Card (Optional, you can also use other tools that can help with opening plastic tabs)
- Pen knife (Optional)
- Keycap Puller (Optional)
Step 1: Taking off the top cover and keycaps
This step is time consuming.
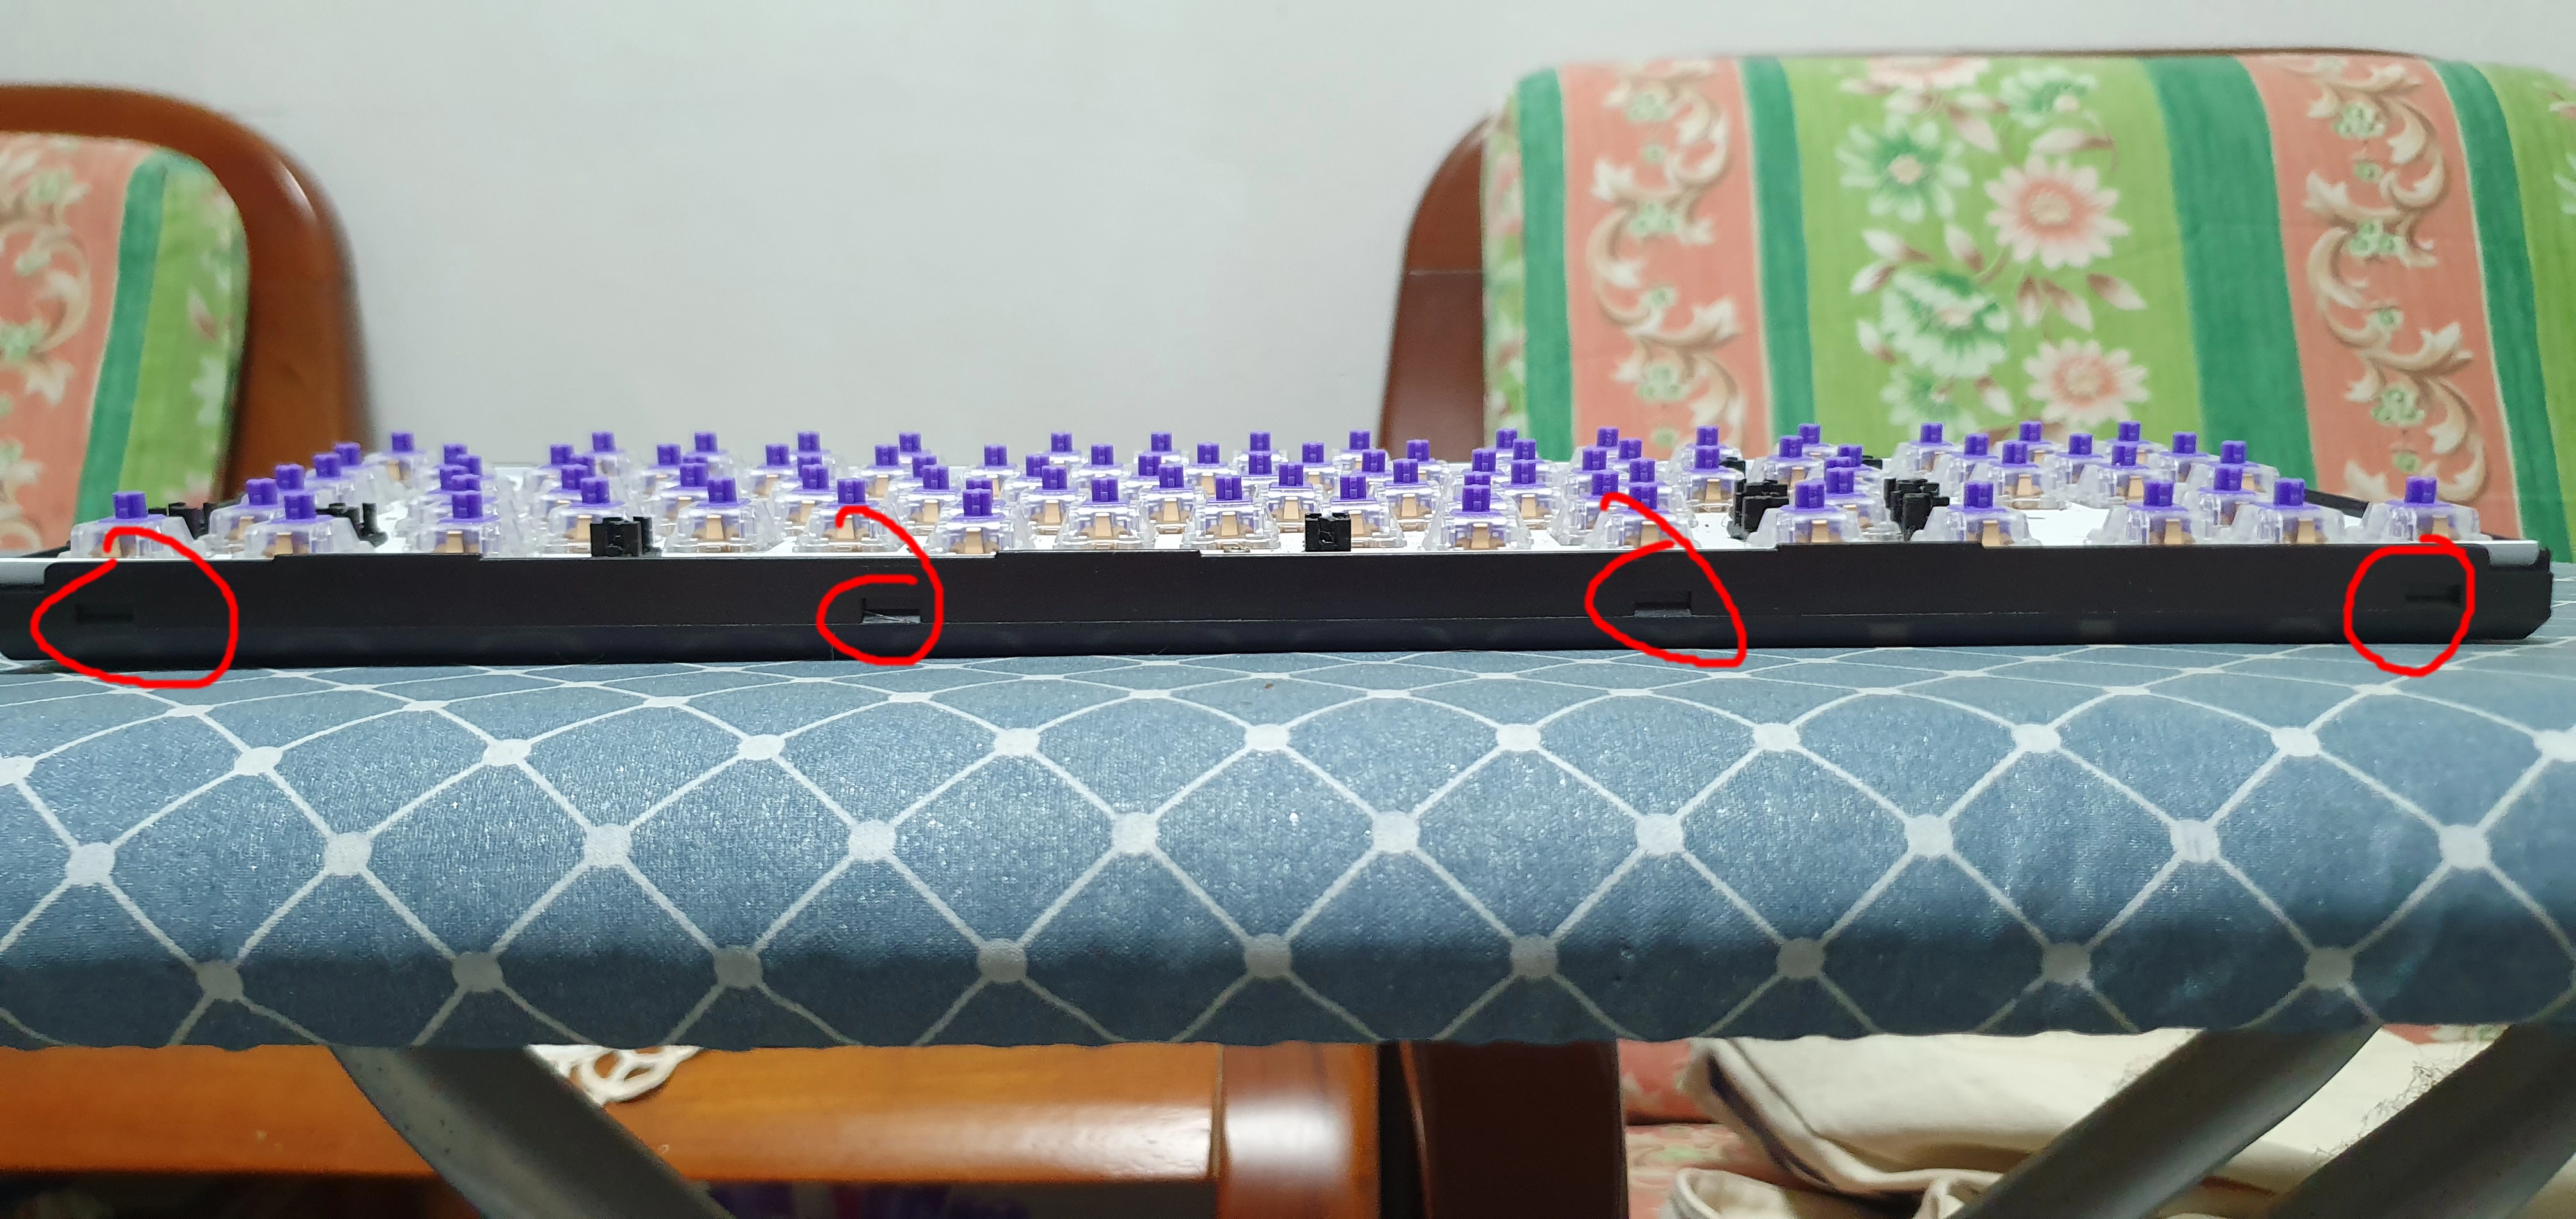
4 tabs at the front
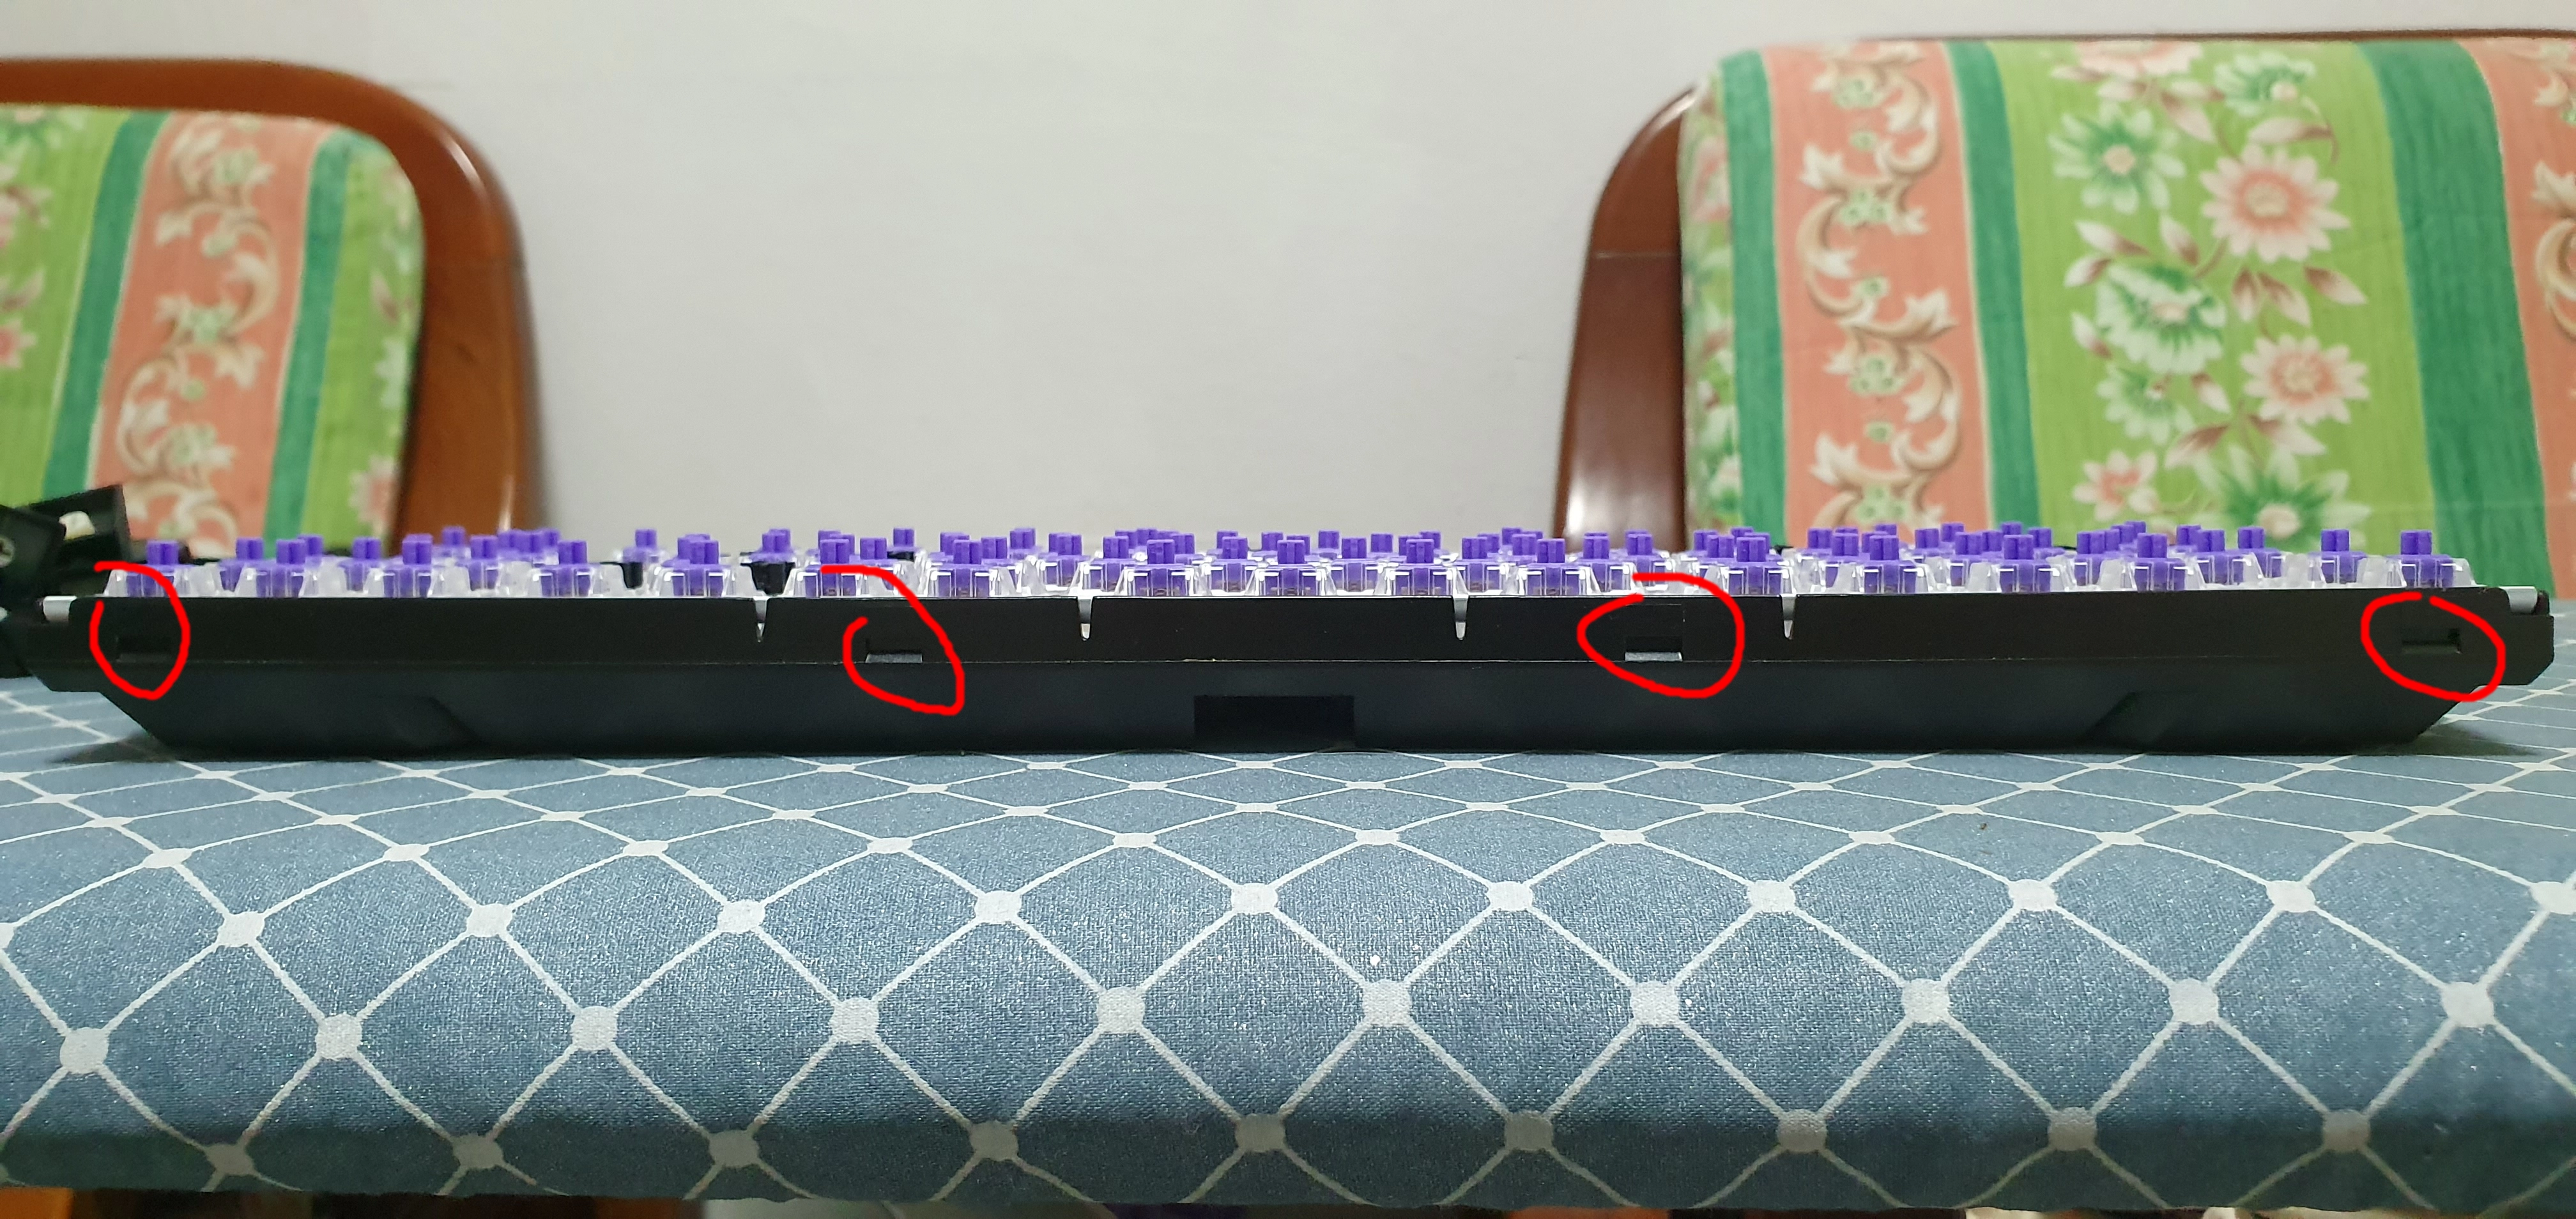
4 tabs at the back
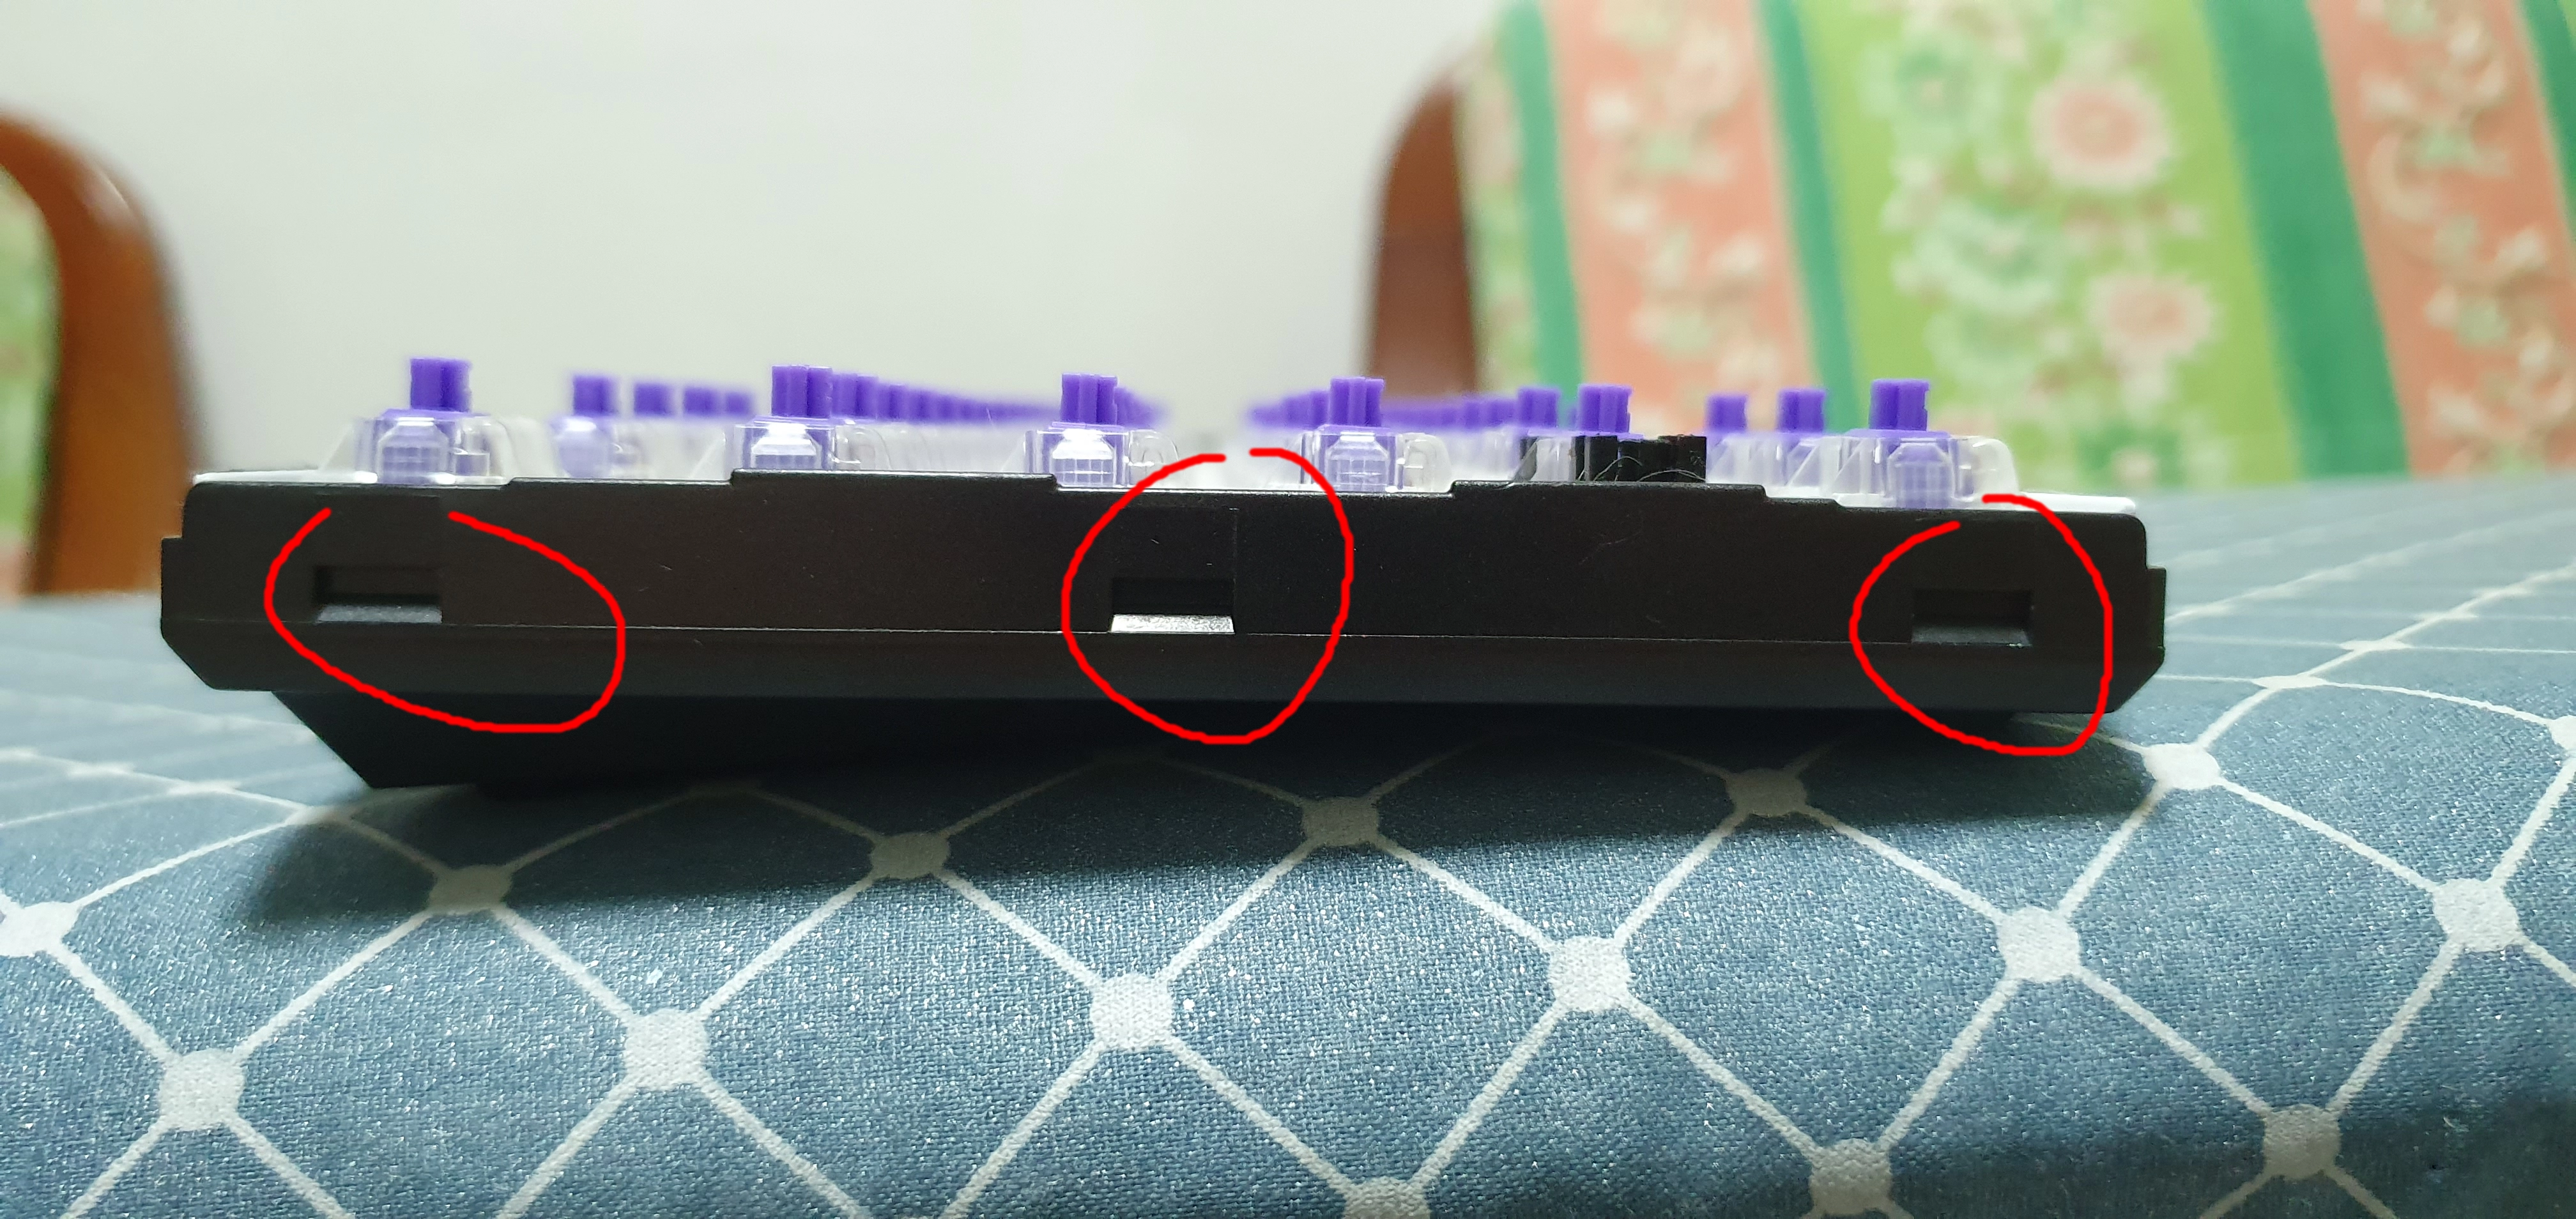
3 tabs at the side
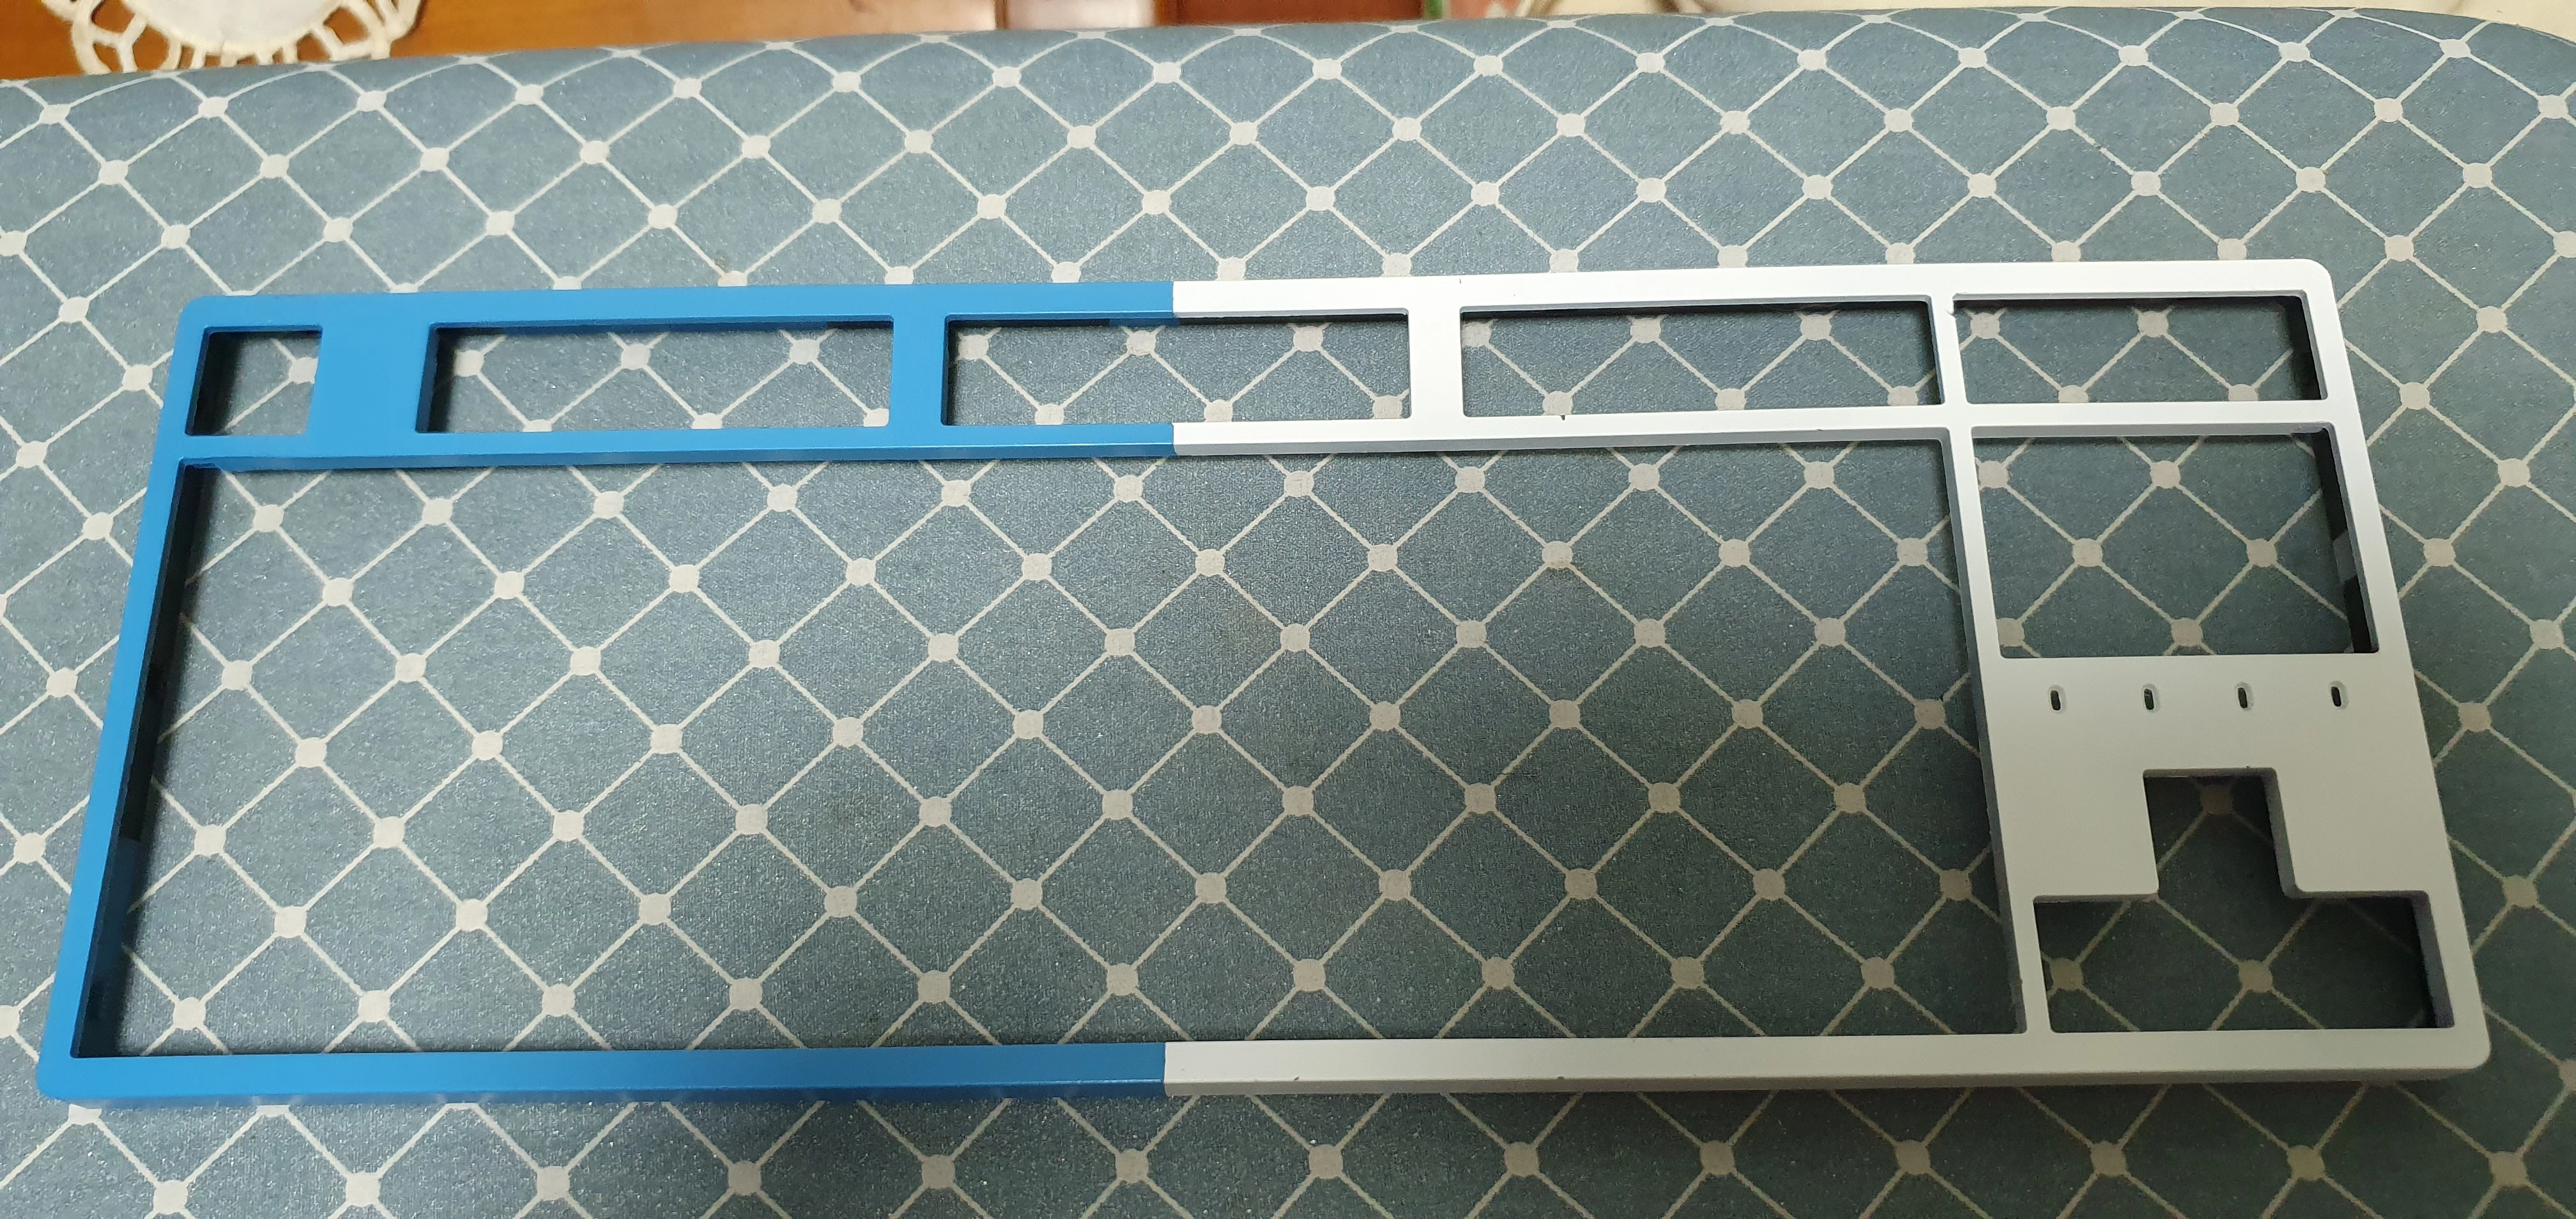
Top cover
You can take off the keycaps after you take off the top case but it's much easier if you take off your keycaps first. Take note of the plastic tabs that I have circled. Those points are important. To take this off you can put a credit card once you open a side to make sure it doesn't snap back in place.
Step 2: Unscrew the plate and separate from bottom
You may want to clean the plate before continuing.
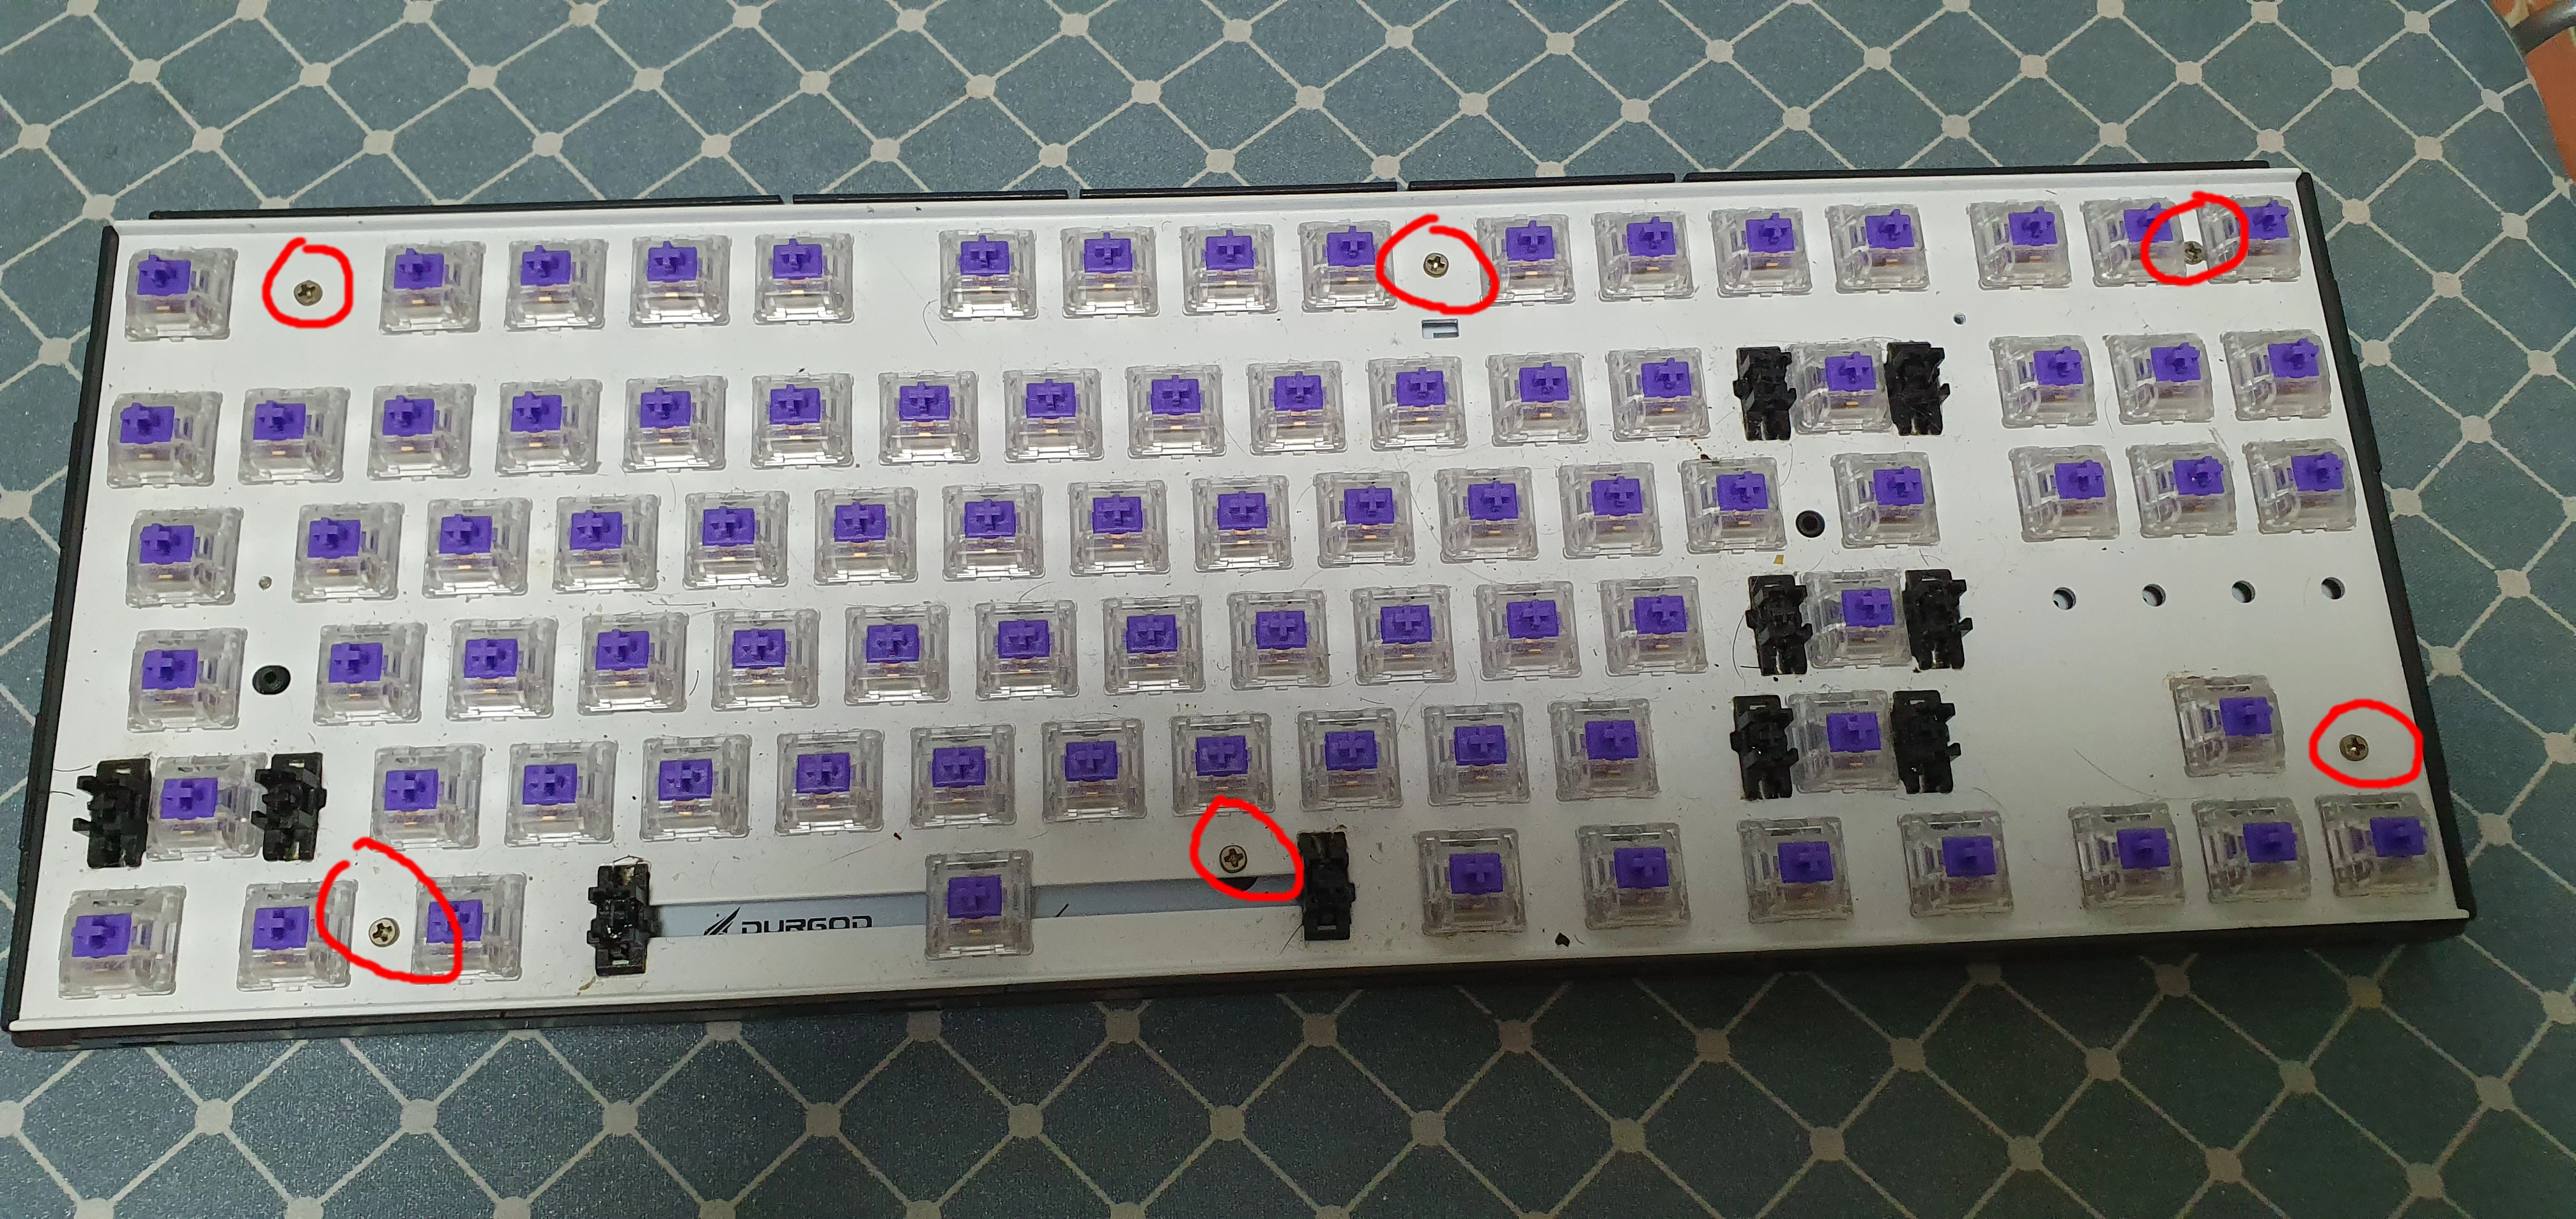
There are six screws on the plate. Unscrew them all. Once you've done this, slowly turn your keyboard and hold onto the plate to make sure that you don't accidentally snap the internal cable.
Step 3: Separate bottom and plate
Take off the cable from the pcb and you are done! 🥳
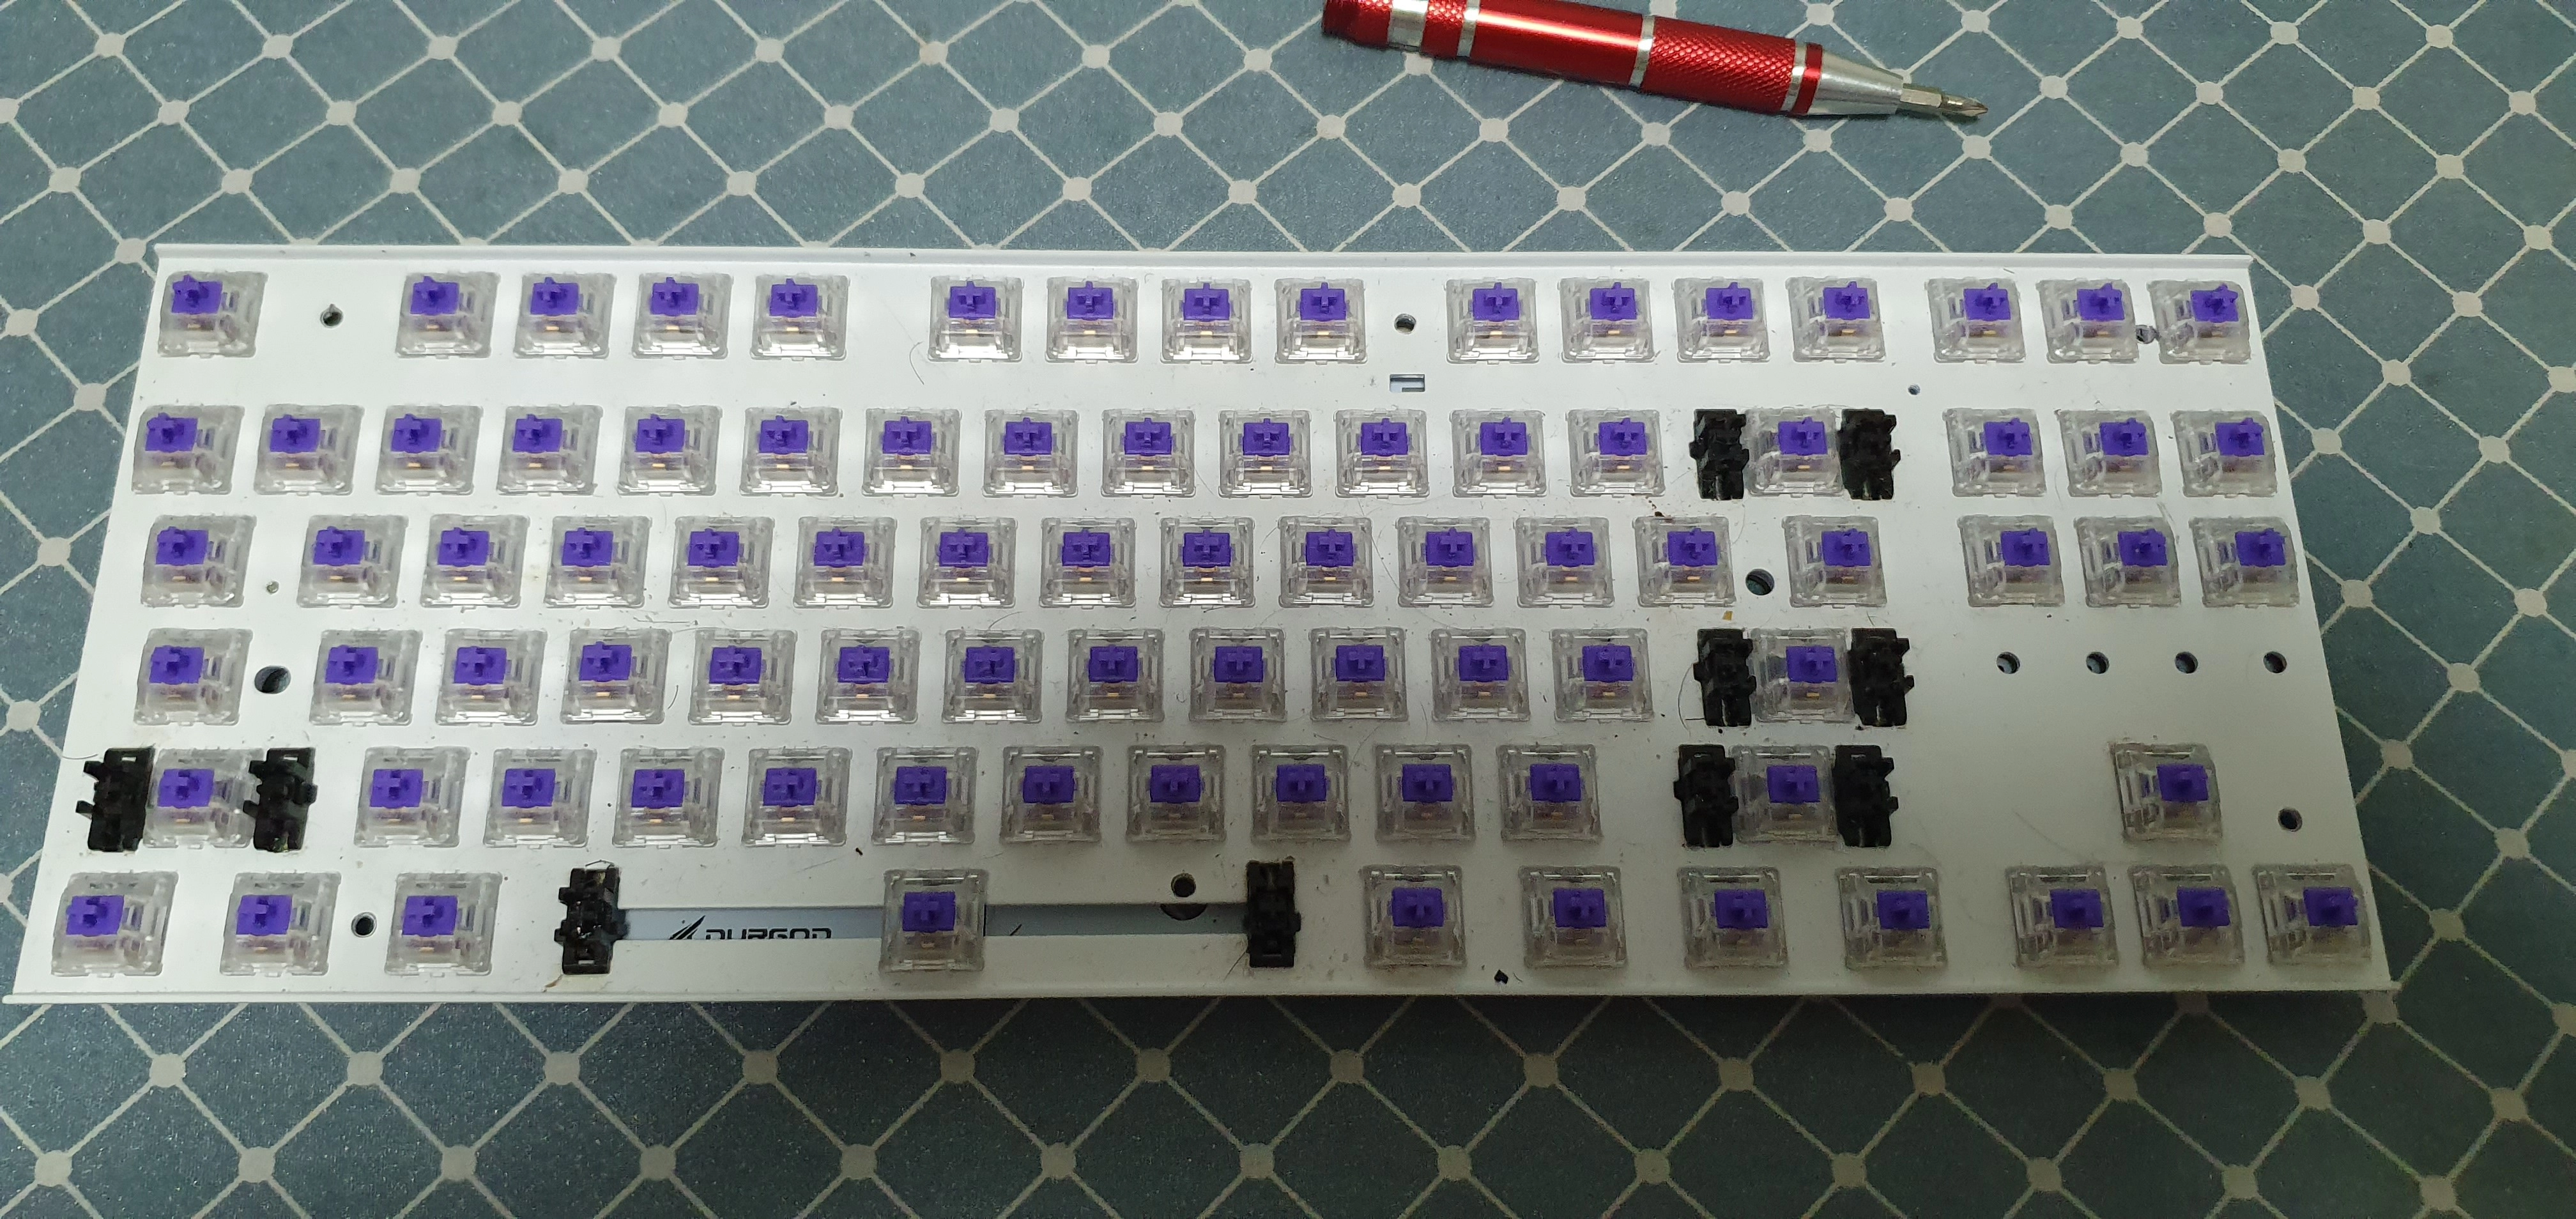
Plate
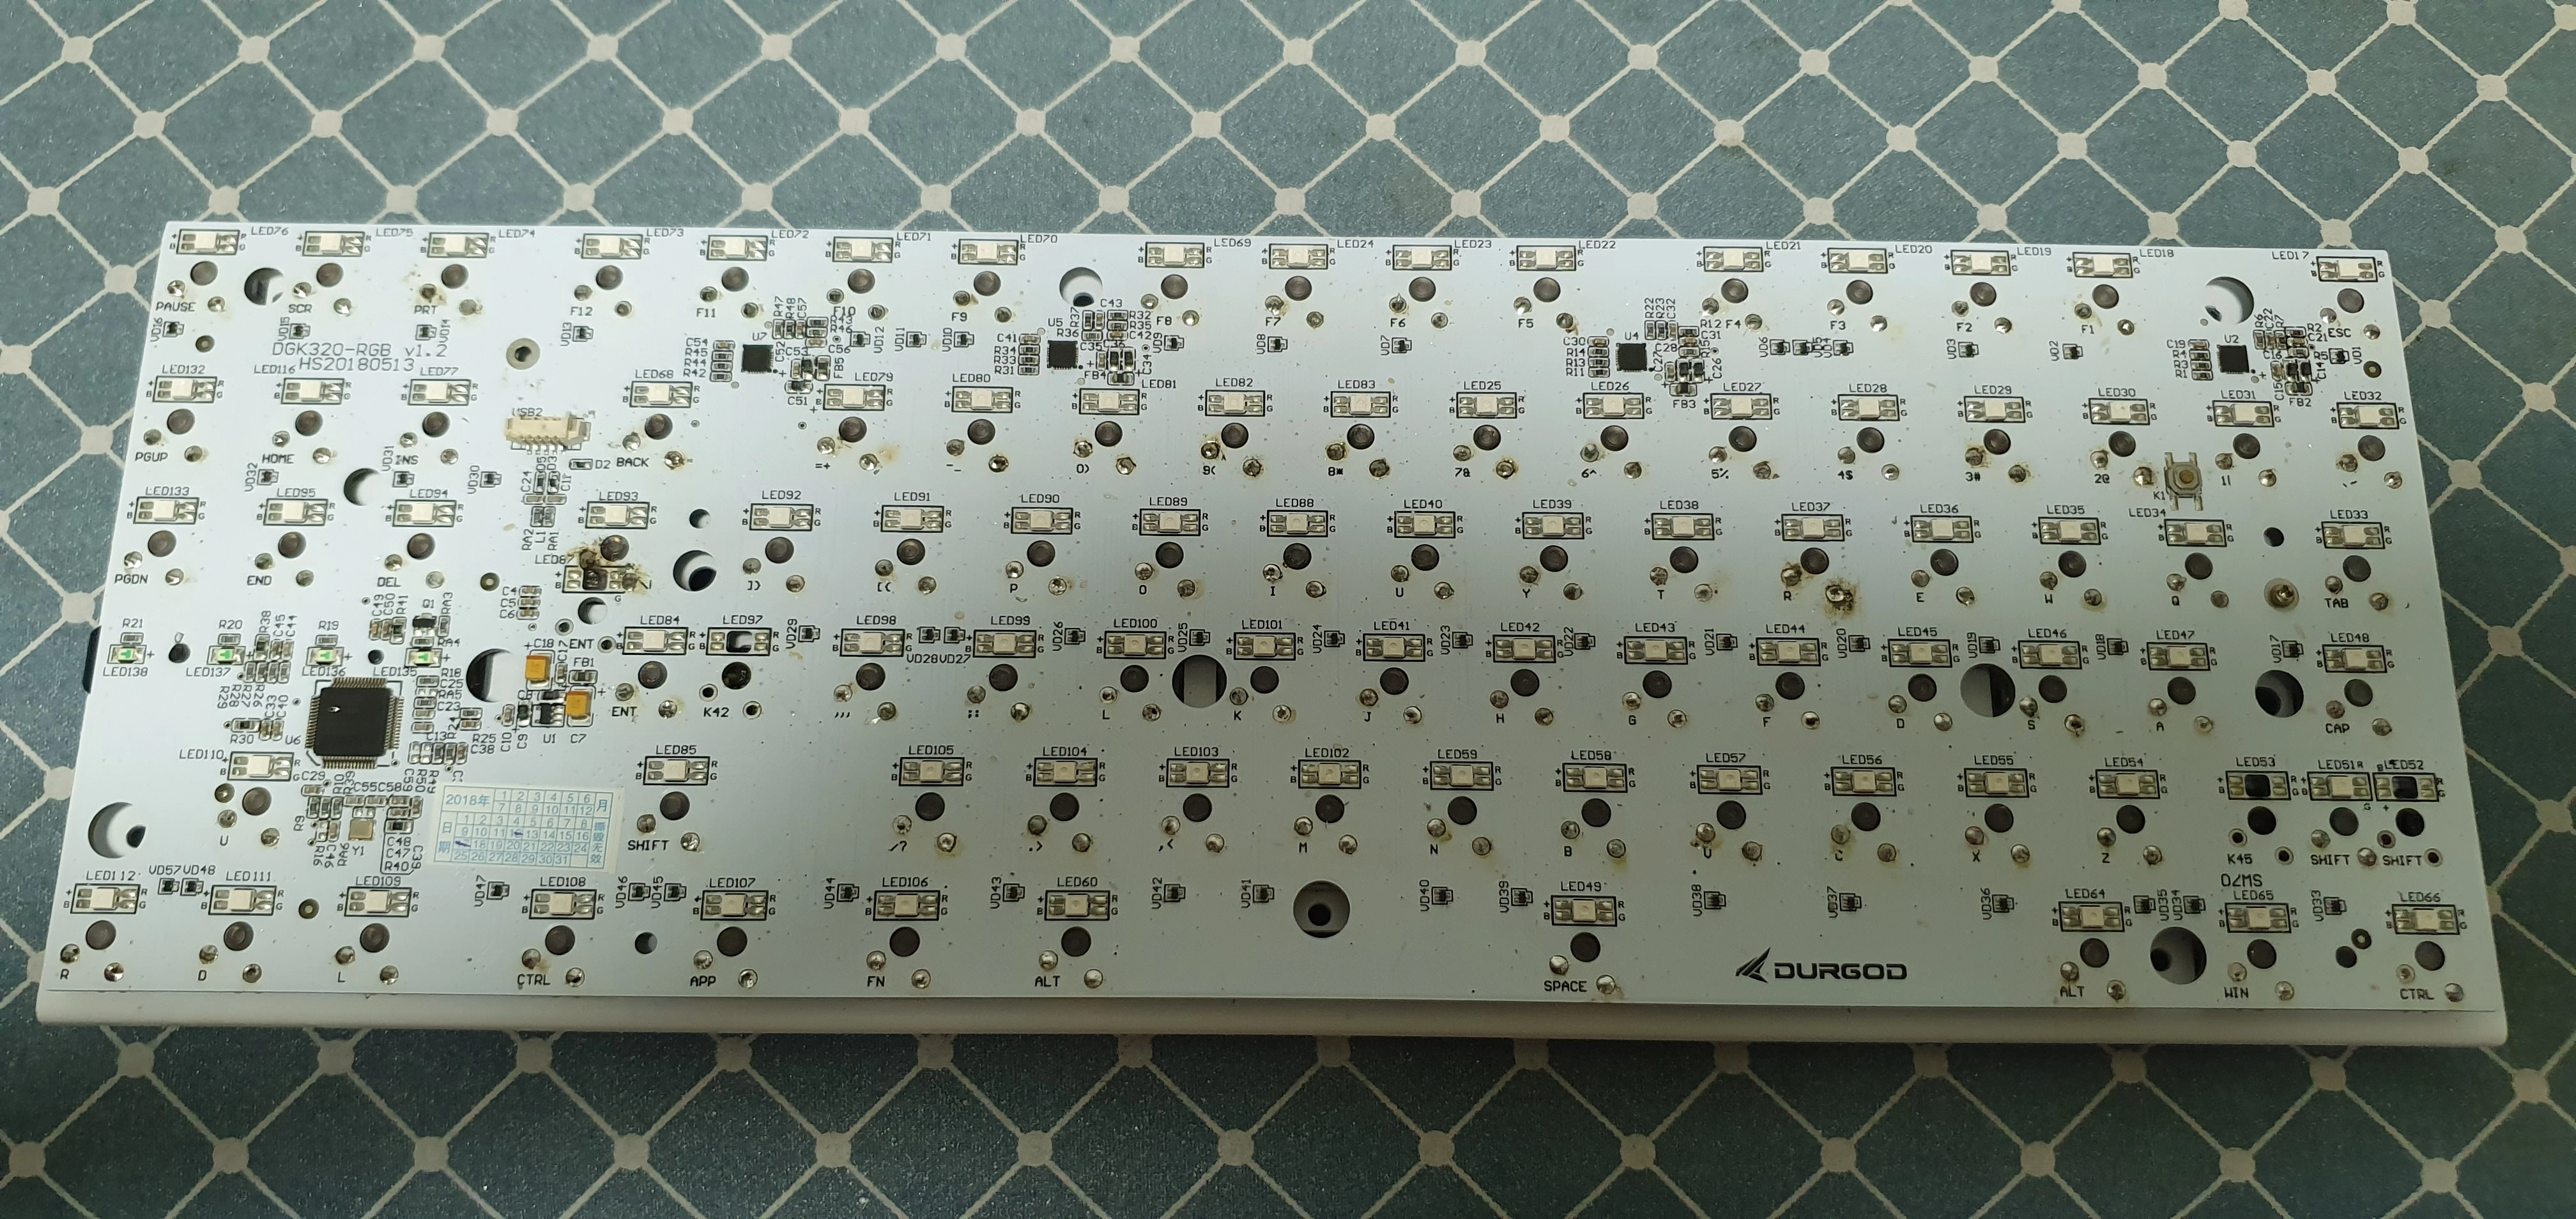
PCB Back
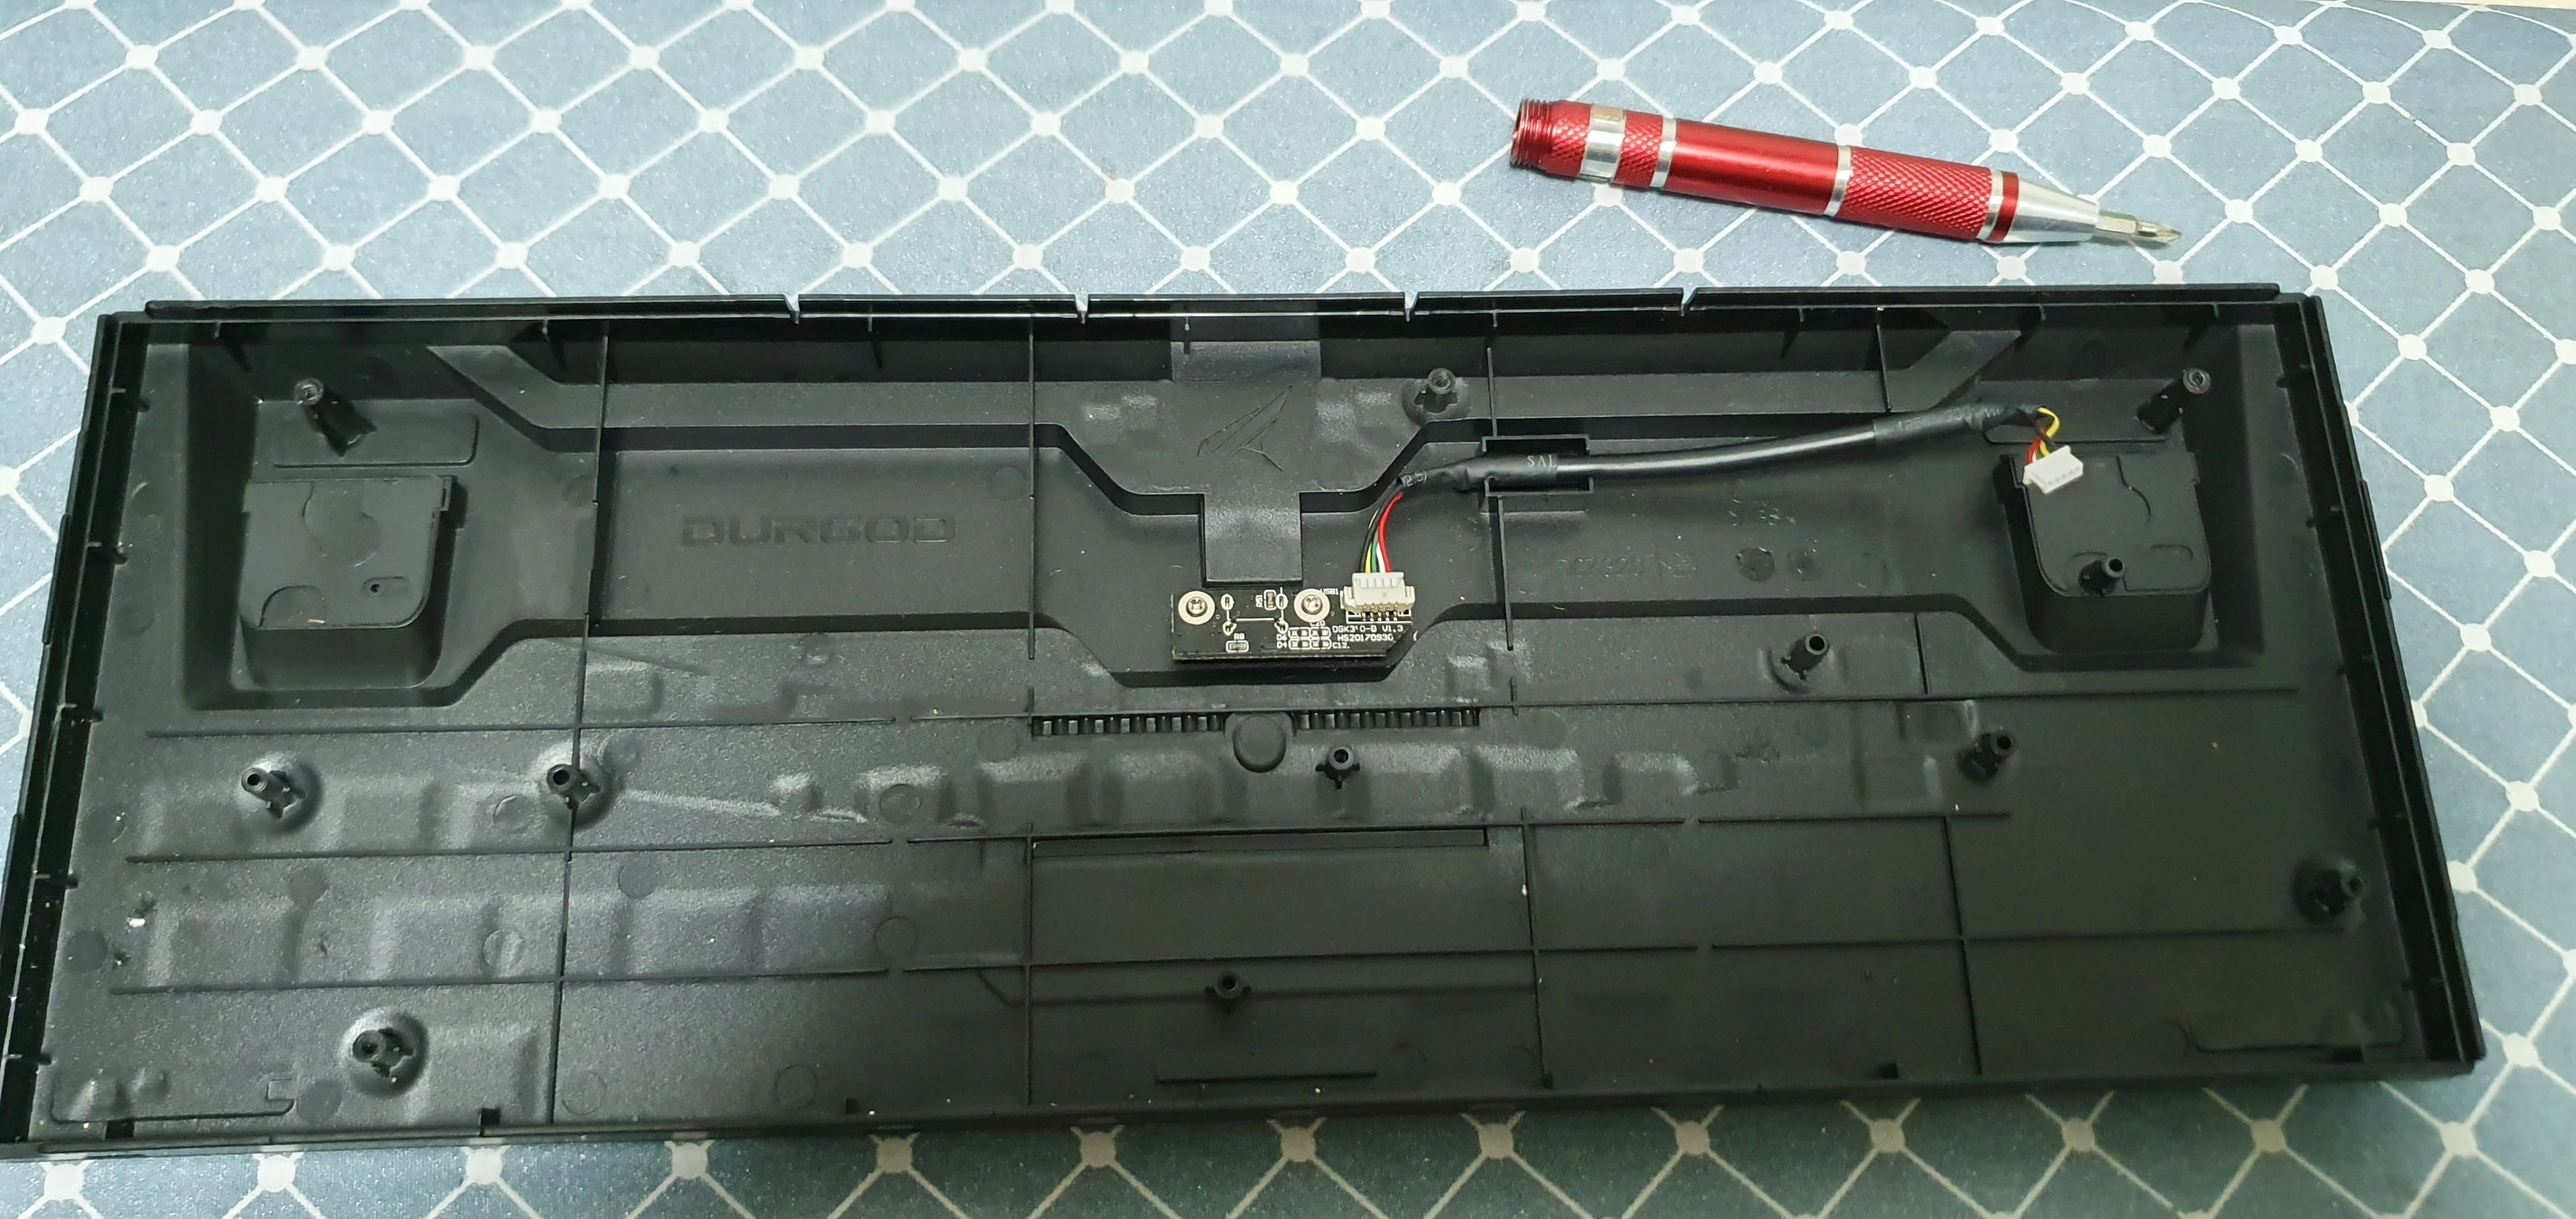
Back
Step 4 (Optional): Take off LED plastic from top case
There are 4 LED plastic pieces that you can take off the top case. You can take them off with a pen knife.
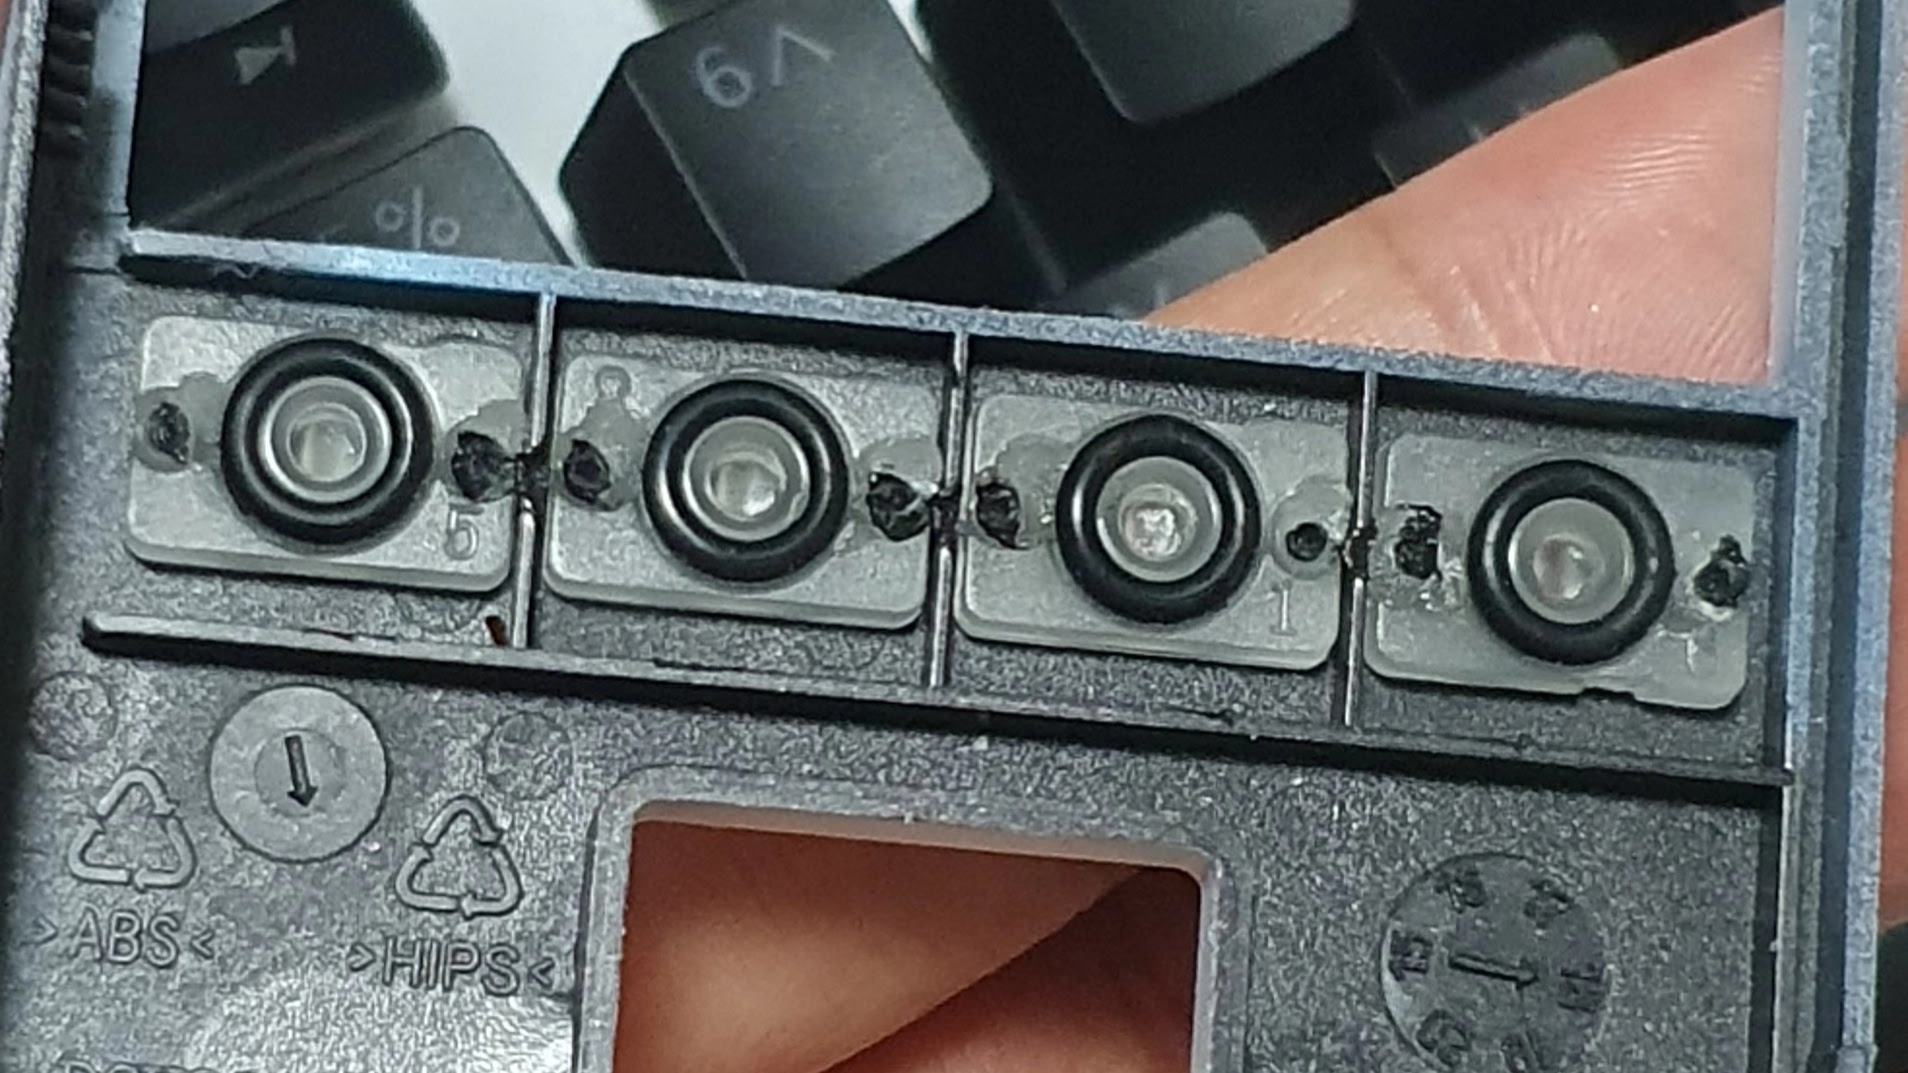
LED plastic pieces
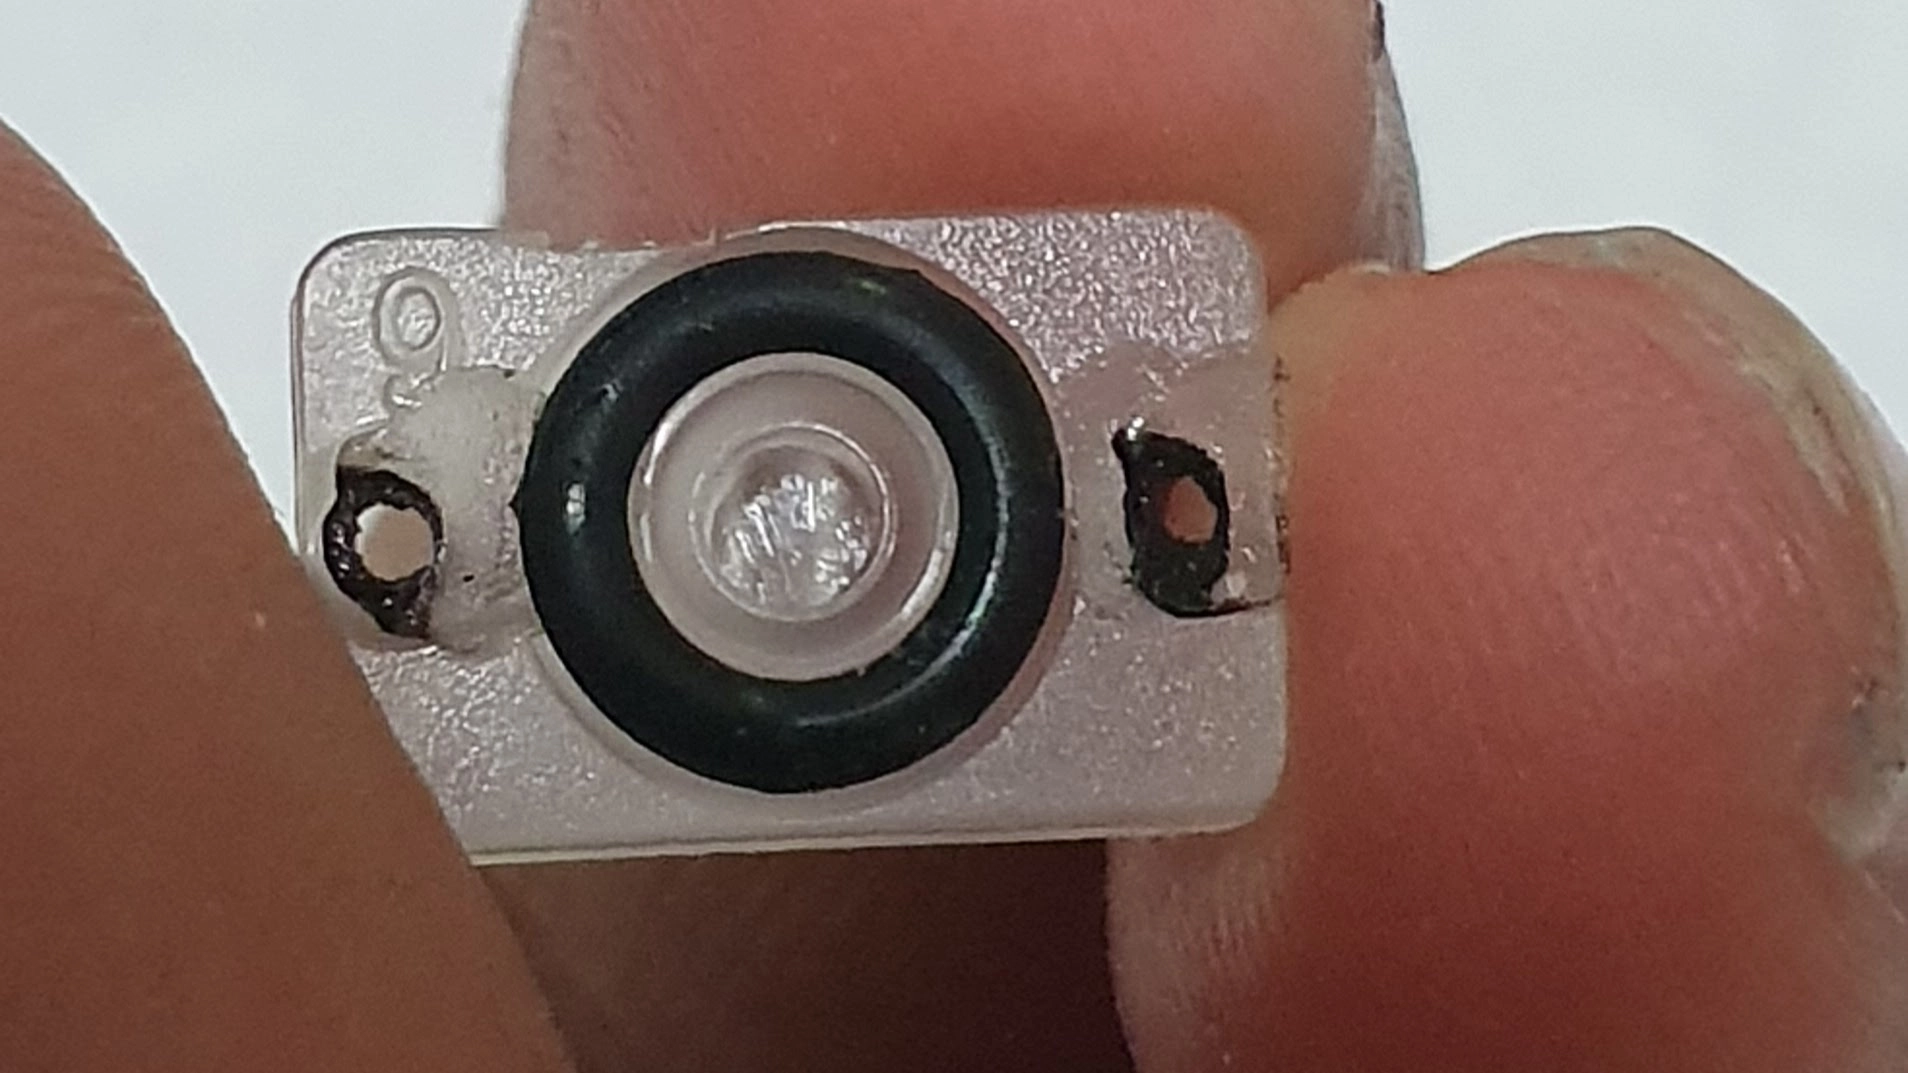
Individual LED plastic piece
Keyboard Mods
Changing Cherry MX Browns to Zealios V2 62g
This mod is quite simple. Prior to this I haven't tried soldering or desoldering anything. There are plenty of tutorials on youtube on how to do these and as for myself, I used a cheap $10 soldering iron and a $3 desoldering pump I got off AliExpress.
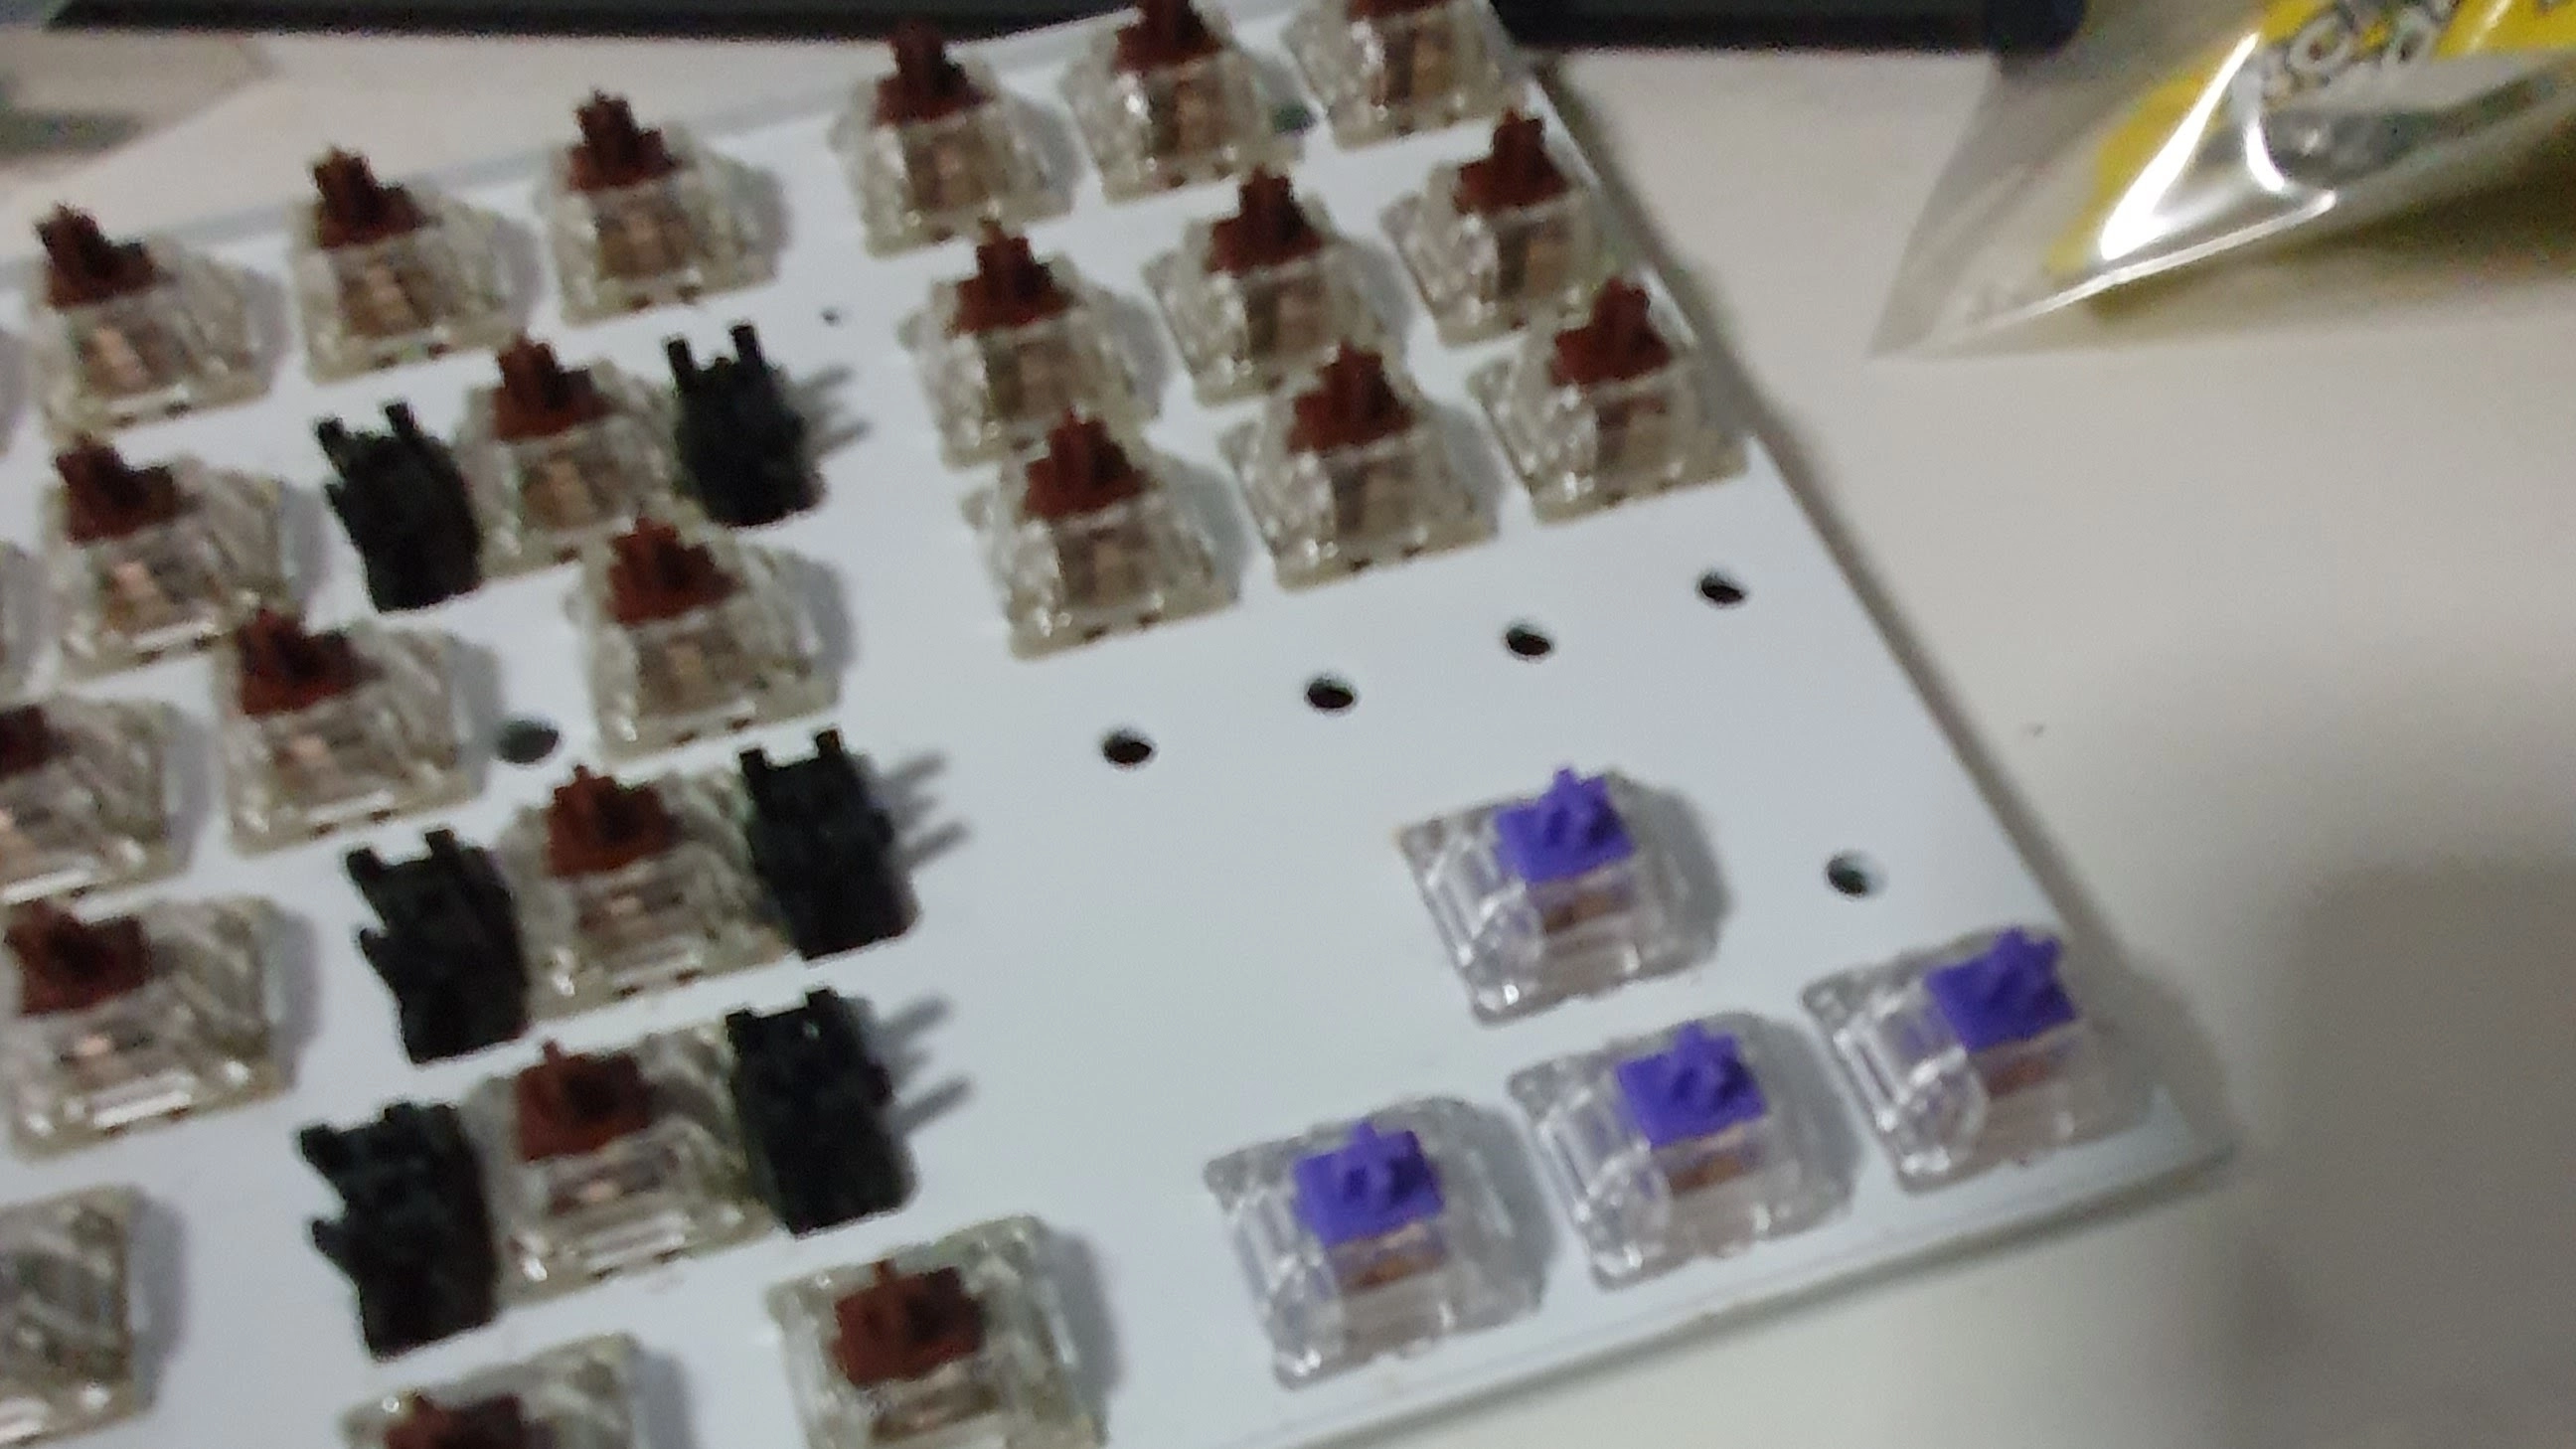
Changing old cherry MX brown with Zealios V2 62g
Spray painted top case
Similar to the previous mod, there are a lot of tutorials on youtube on how to spray paint your keyboard and it is not that hard to do it yourself. Luckily, the Durgod K320 (well, at least the top case) is easy to spray paint. For this mod, I used the following items to spray paint.
- Rust-oleum Painter's Touch Flat Gray Primer
- Rust-oleum Painter's Touch Matte Clear Coat
- Nippon Paint Pylox Matte White Spray Paint
- Nippon Paint Pylox Glossy Sky Blue Spray Paint
- 3M Painters Tape
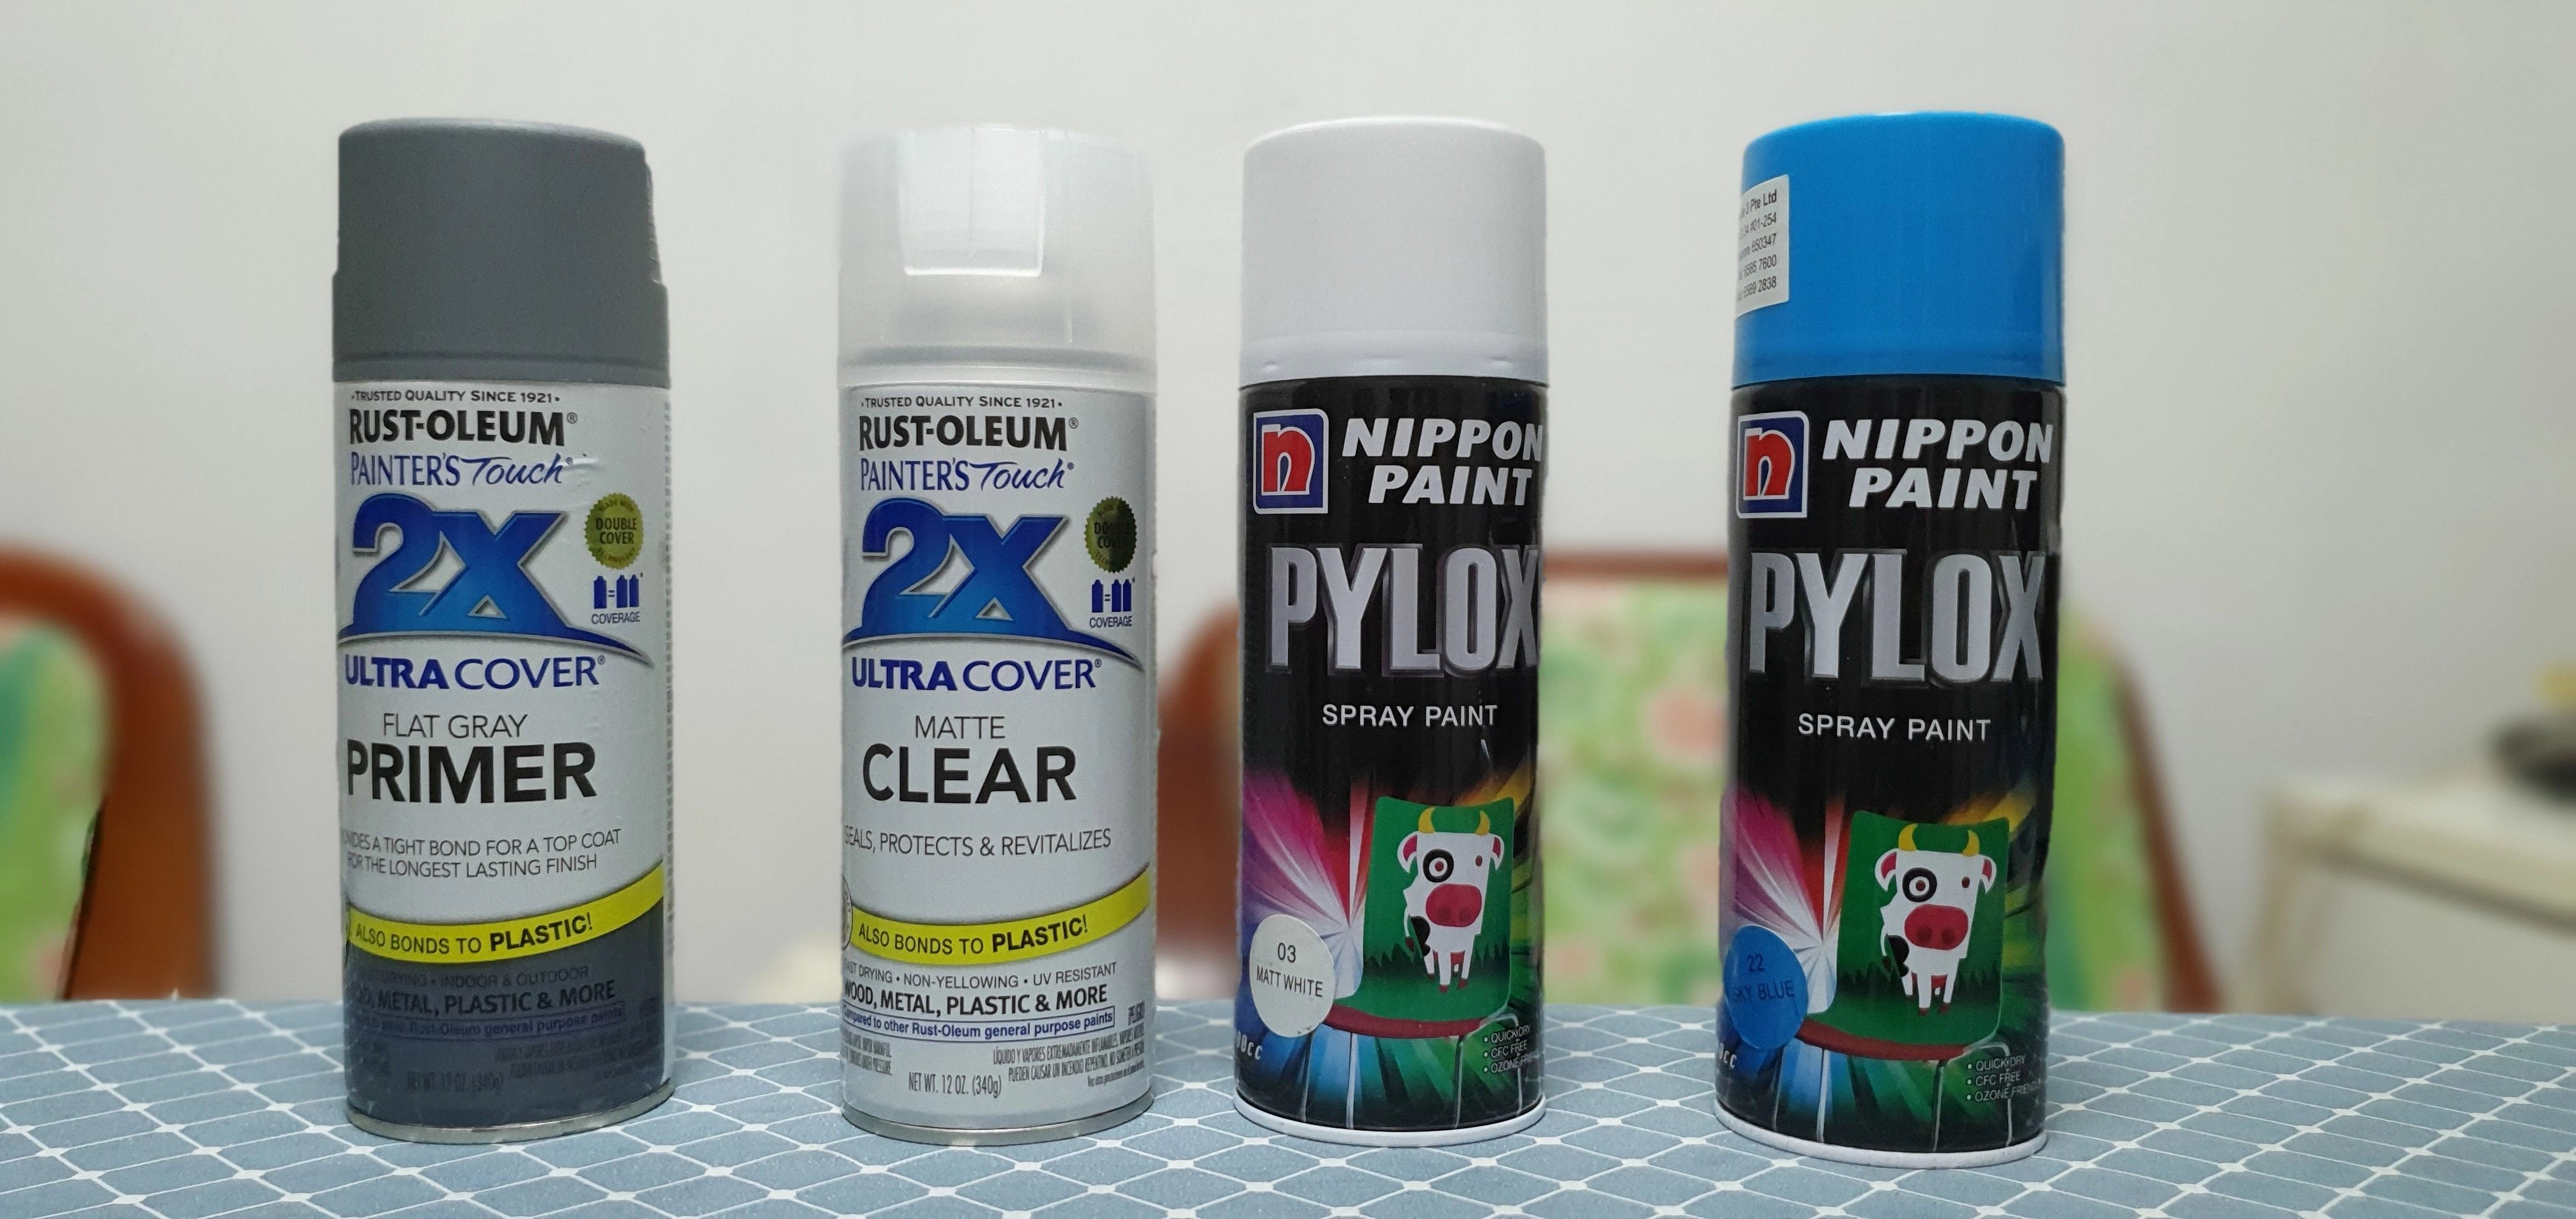
Step 1: Clean your keyboard
Wipe all the dust that is on the keyboard, as any dust will ruin the paint job
Step 2: Sand keyboard (Optional)
While this is an optional step, sanding your keyboard with sandpaper will make sure that the paint will fill up the gaps and stick to your keyboard longer
Step 3: Tape using painters tape
Be sure that the primer is completely dry if you are doing step 4 first then step 3! Cover the parts I don't want to be painted <insert-color>. I also covered the plastic tabs just to be sure that they will still fit the case as painting it will definitely add some thickness to it.
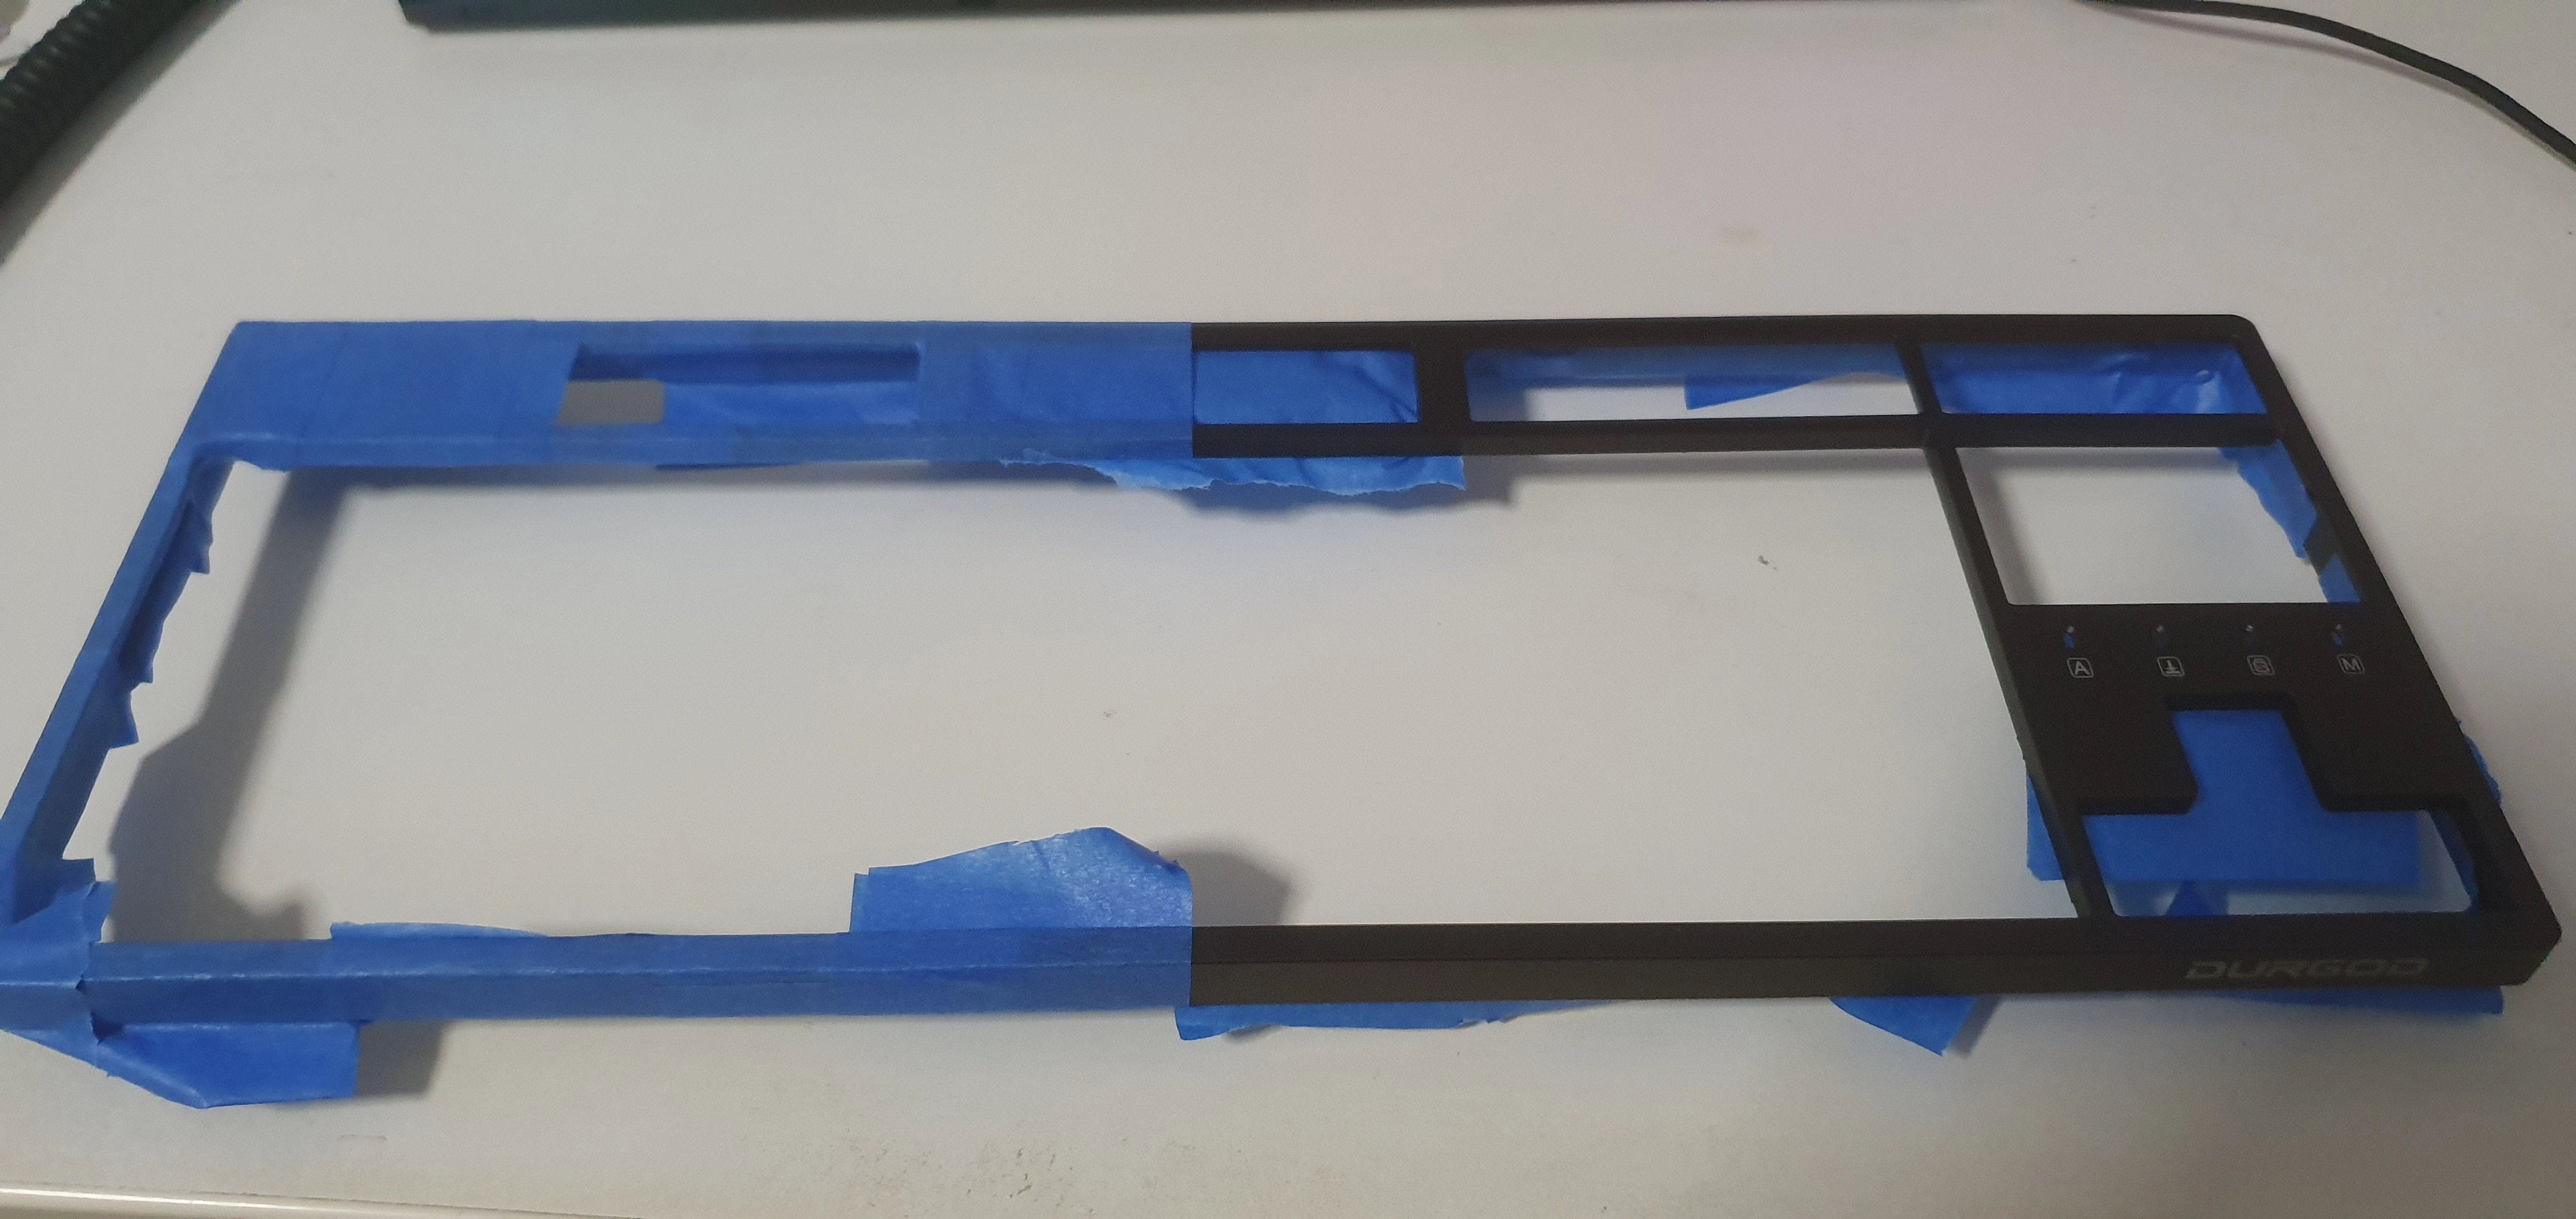
Taped keyboard with painters tape
Step 4: Use Primer
I used the aforementioned Primer. 3 light coats, 10 minutes in between each coat. Using primer will improve the durability of the paint job.
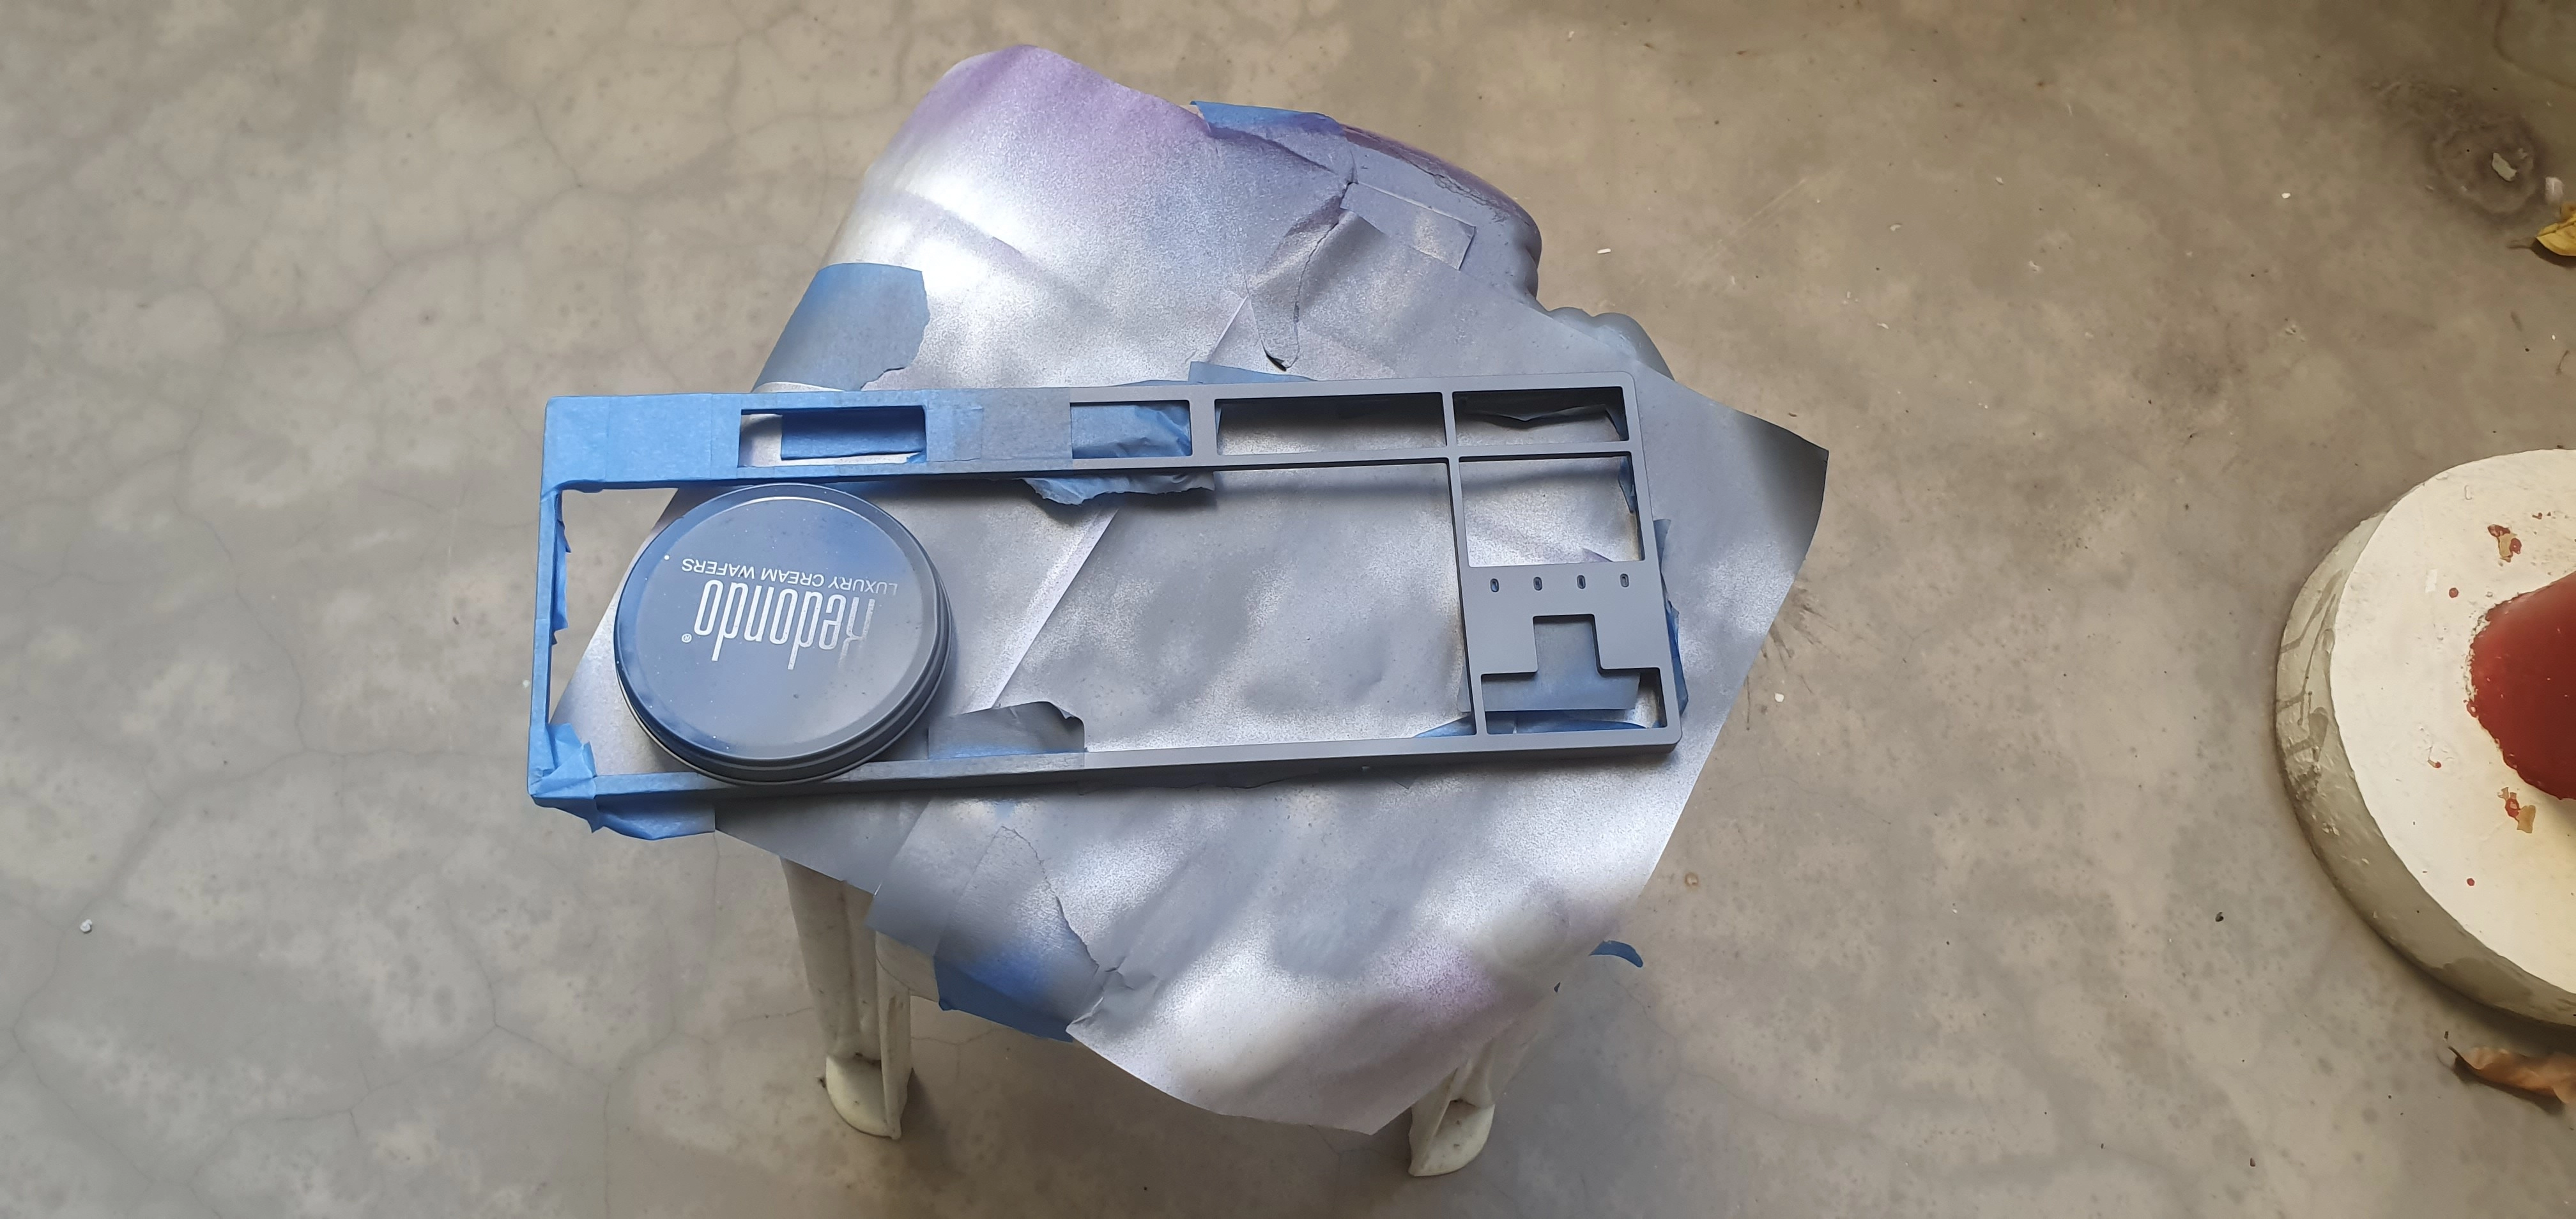
Primer
Step 5: Use Paint
Similar to step 4. 3 light coats, 10 minutes in between each coat.
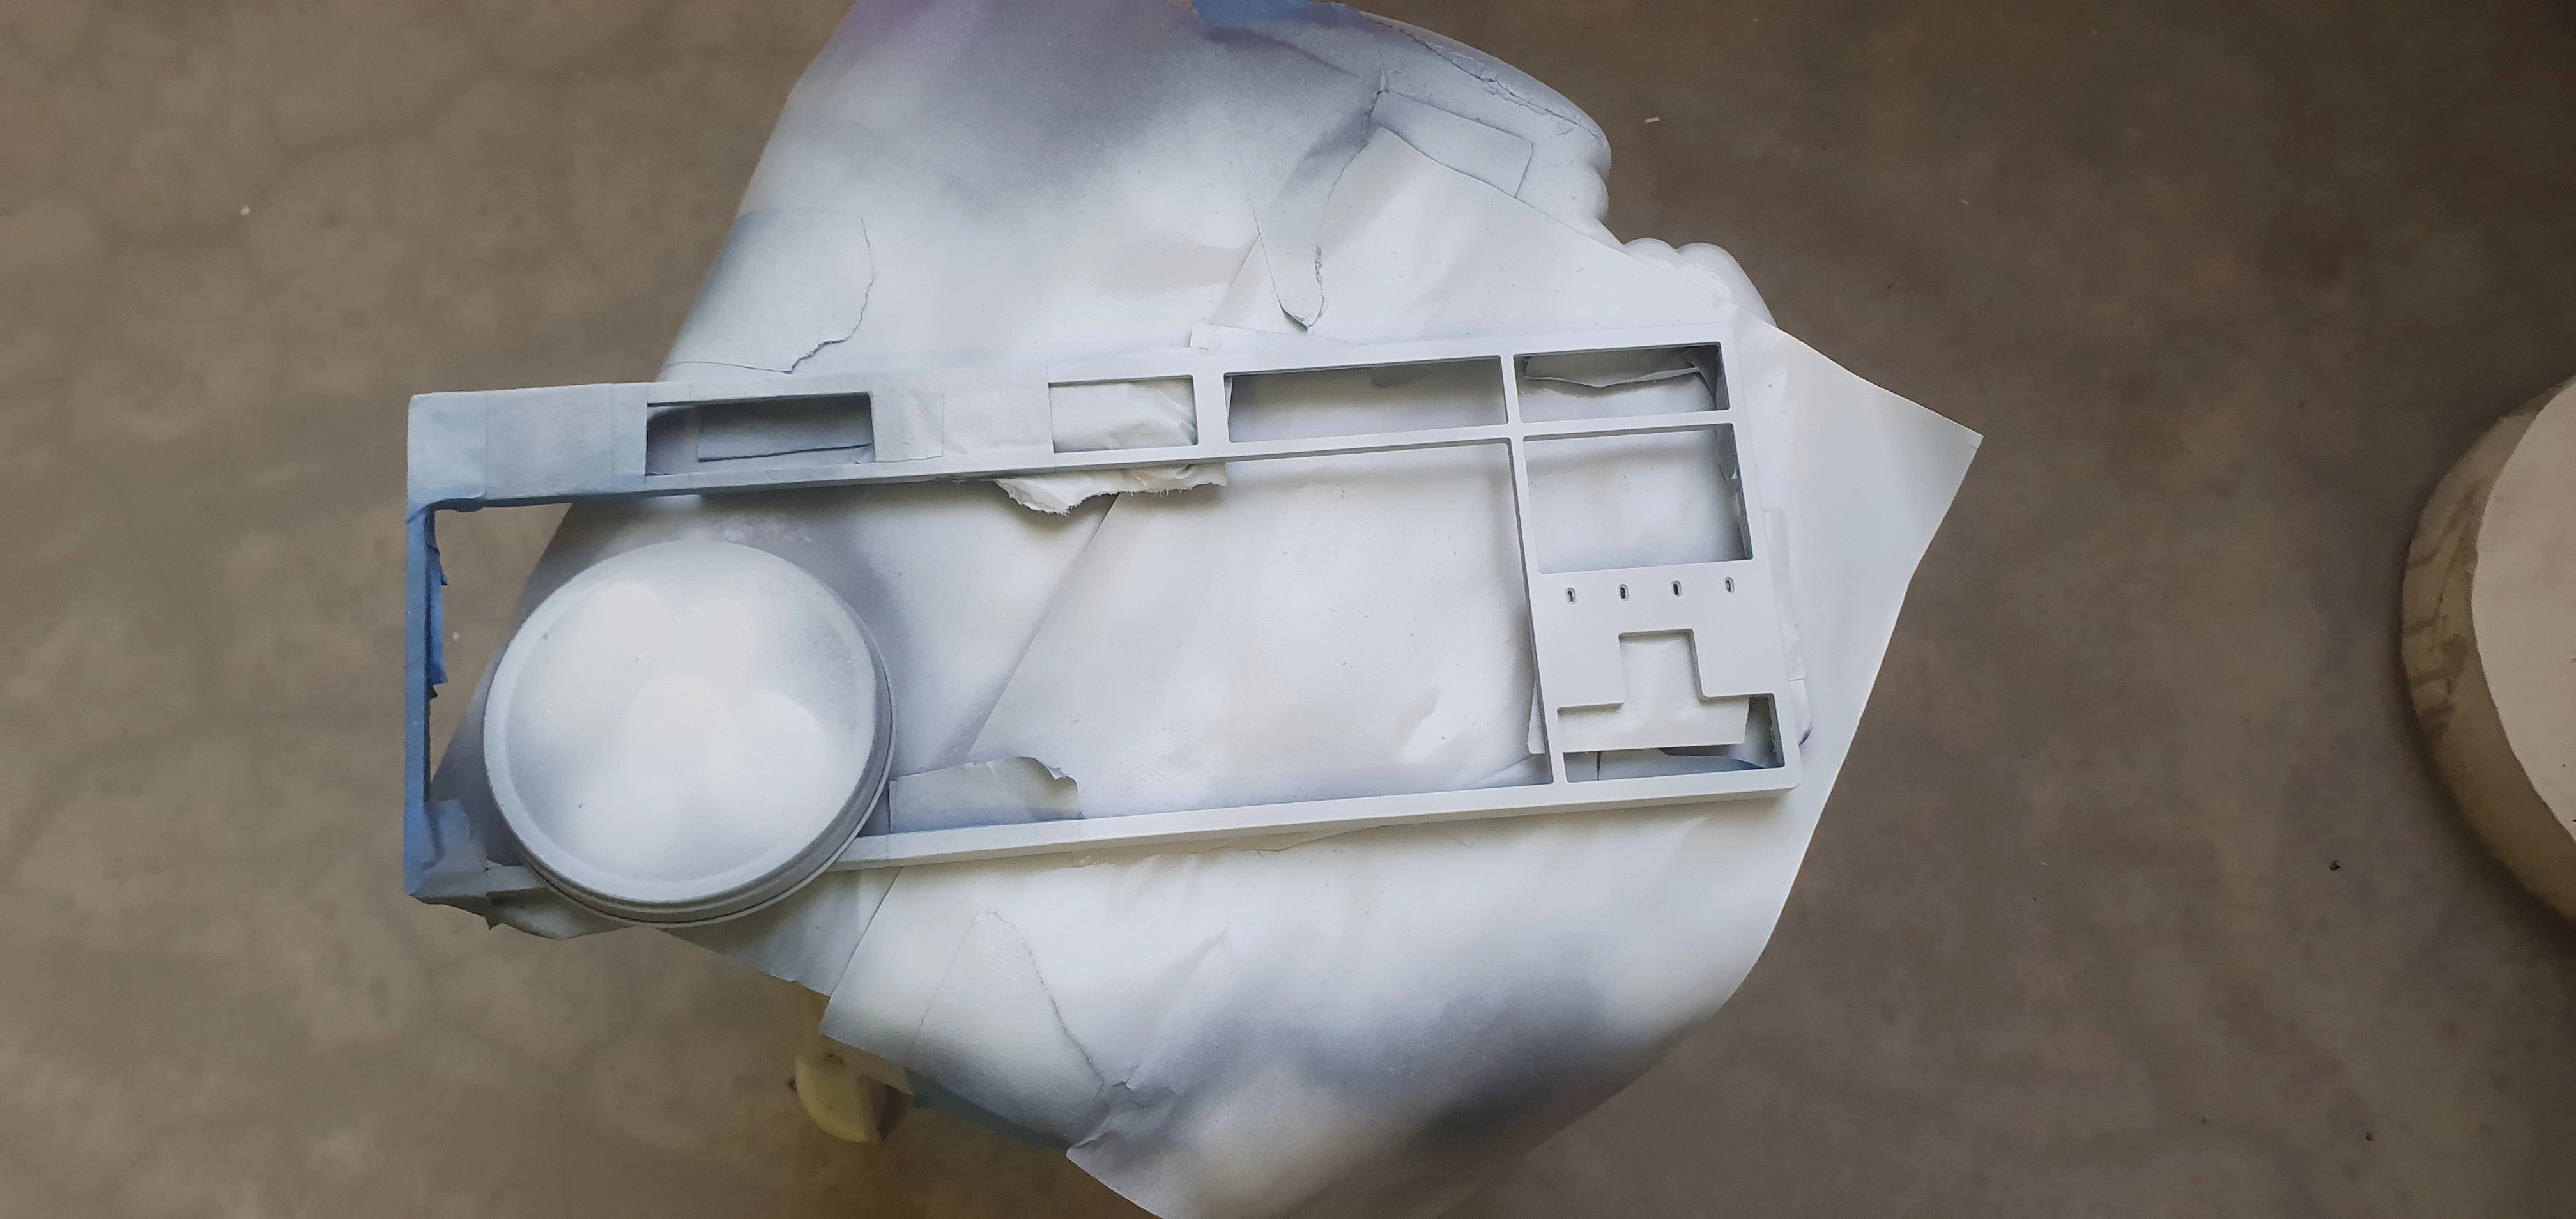
White Paint
Step 6: Repeat step 3 to step 5
If you want to paint the other side of your keyboard another color 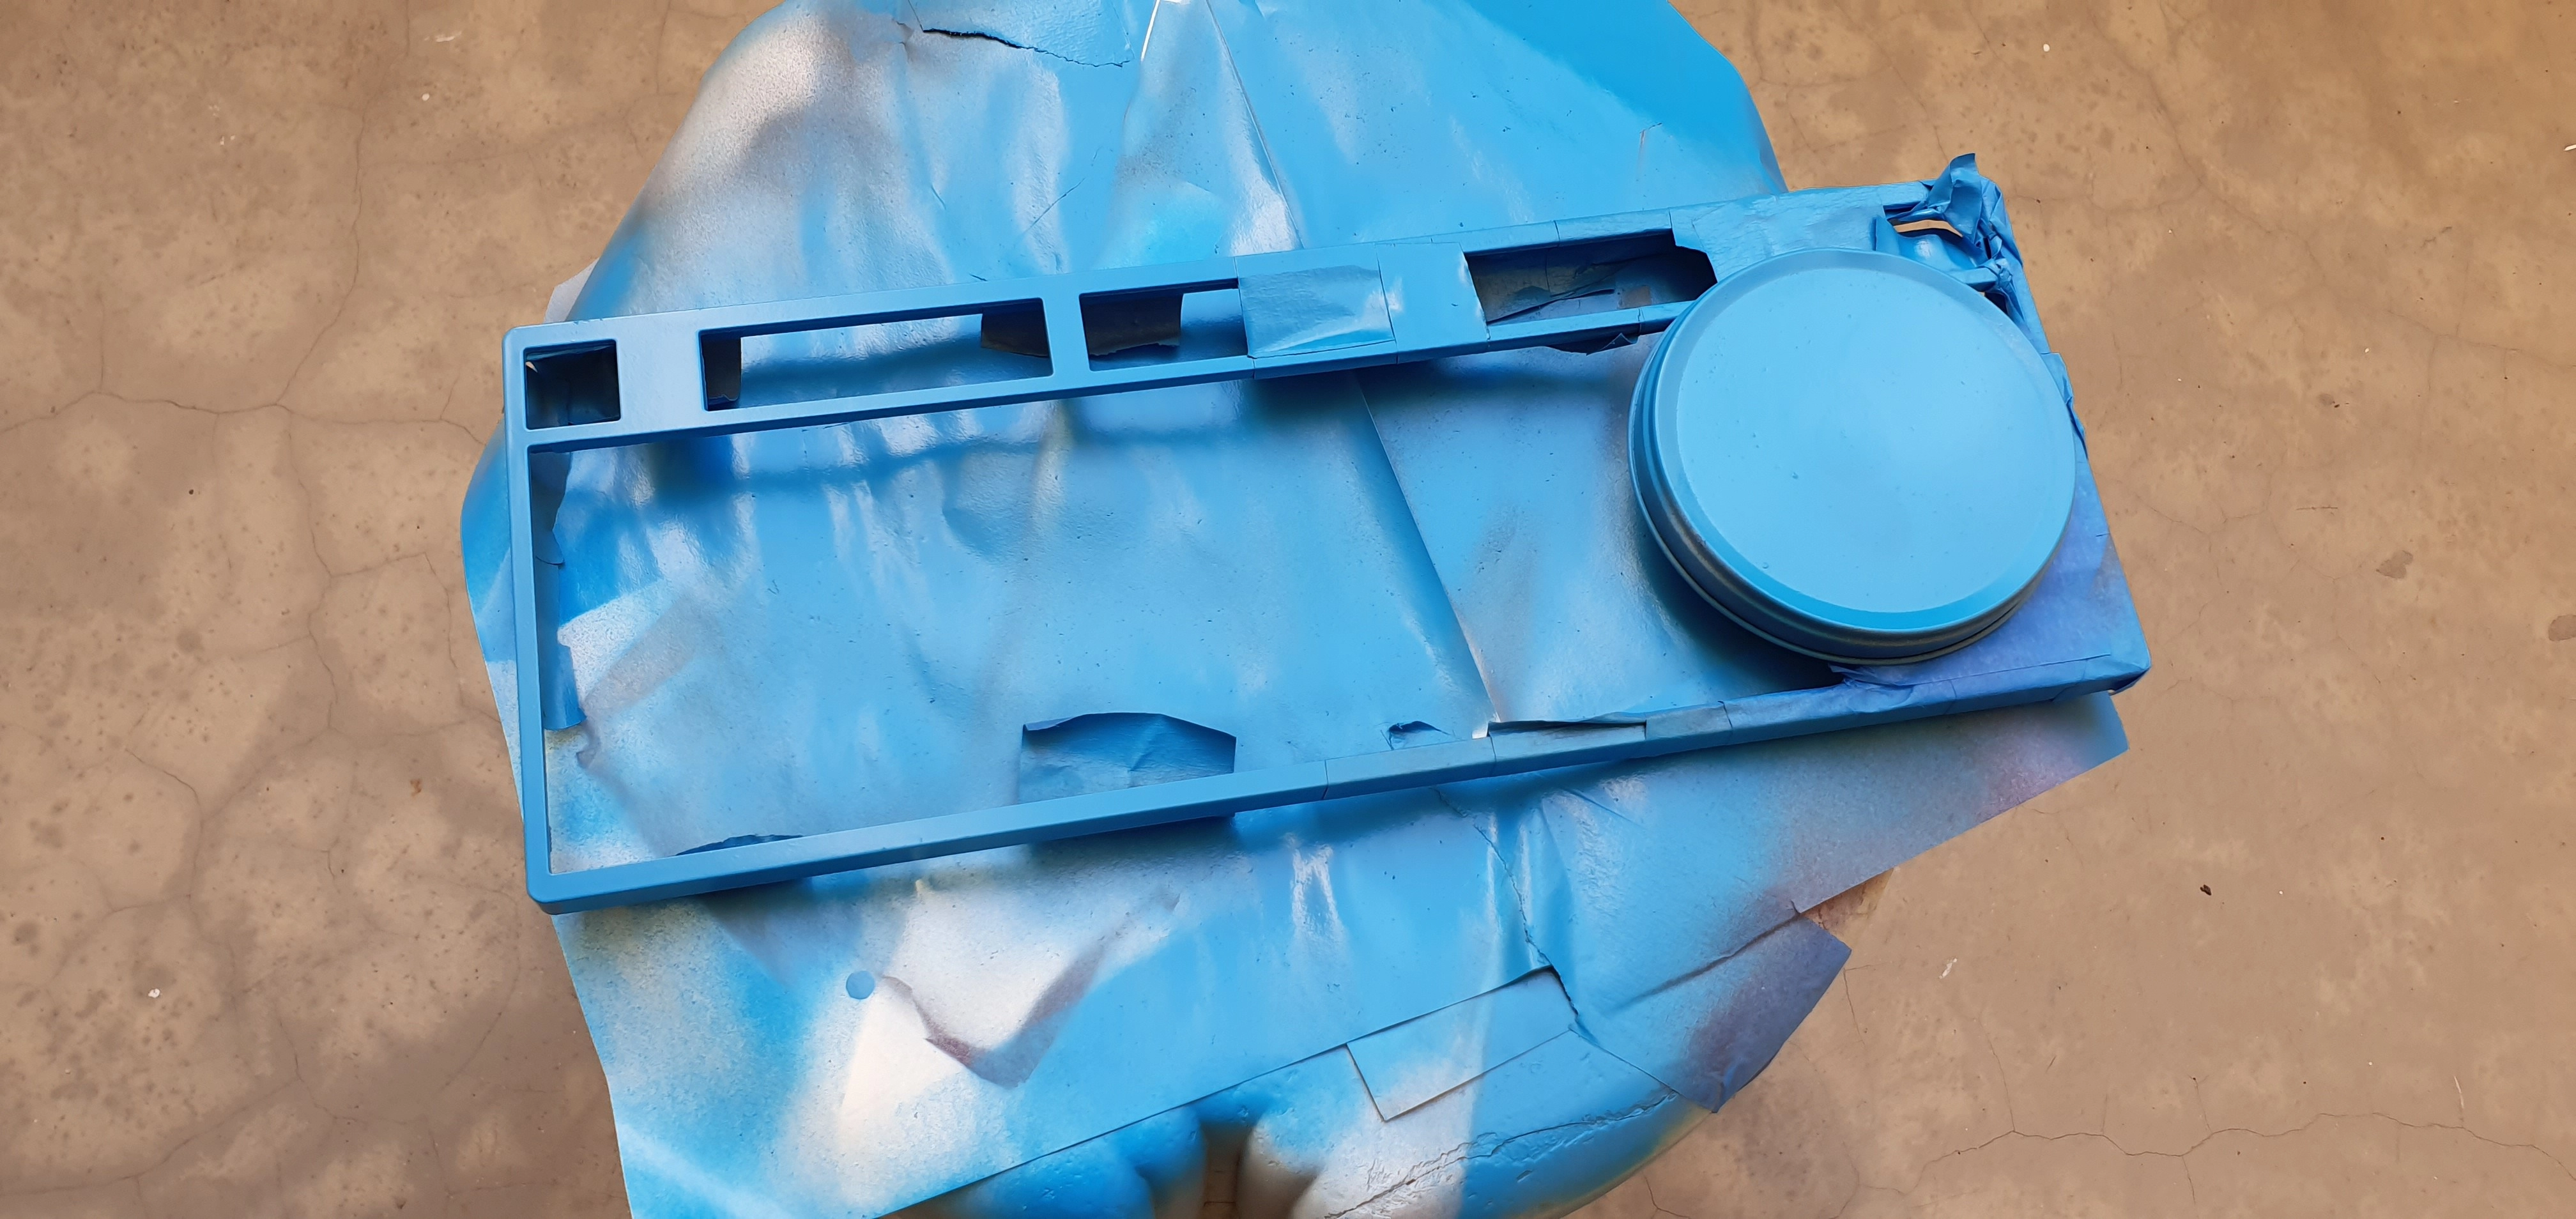
Blue Paint
Step 7: Clear coat
Finally, once you are done with painting your keyboard, you can clear coat it to make the paint last longer. Using the clear matte coat also made sure that the blue gloss paint becomes matte so that it matches the white paint.
Final Product

You've come to the end of the blog post. That's all folks thanks for reading!
