Overview
This blogpost is mainly for my personal documentation but figured it might help those that are having issues installing Oobabooga on Archlinux.
This guide will go through how to install Oobabooga manually without using the one-click installer as that causes problems on ArchLinux. This guide will also show how to install GPTQ-for-LLaMA so you can run 4 bits quantized models.
For this guide, we will be using commit 50c70e2 for Oobabooga and commit 81fe867 for GPTQ-for-LLaMa.
Step 1: Installing correct version of CUDA
Ensure that we have the correct version of CUDA installed. To check that, we can run nvcc --version. This is the output you might see.
nvcc: NVIDIA (R) Cuda compiler driver
Copyright (c) 2005-2022 NVIDIA Corporation
Built on Wed_Sep_21_10:33:58_PDT_2022
Cuda compilation tools, release 11.8, V11.8.89
Build cuda_11.8.r11.8/compiler.31833905_0
If you are using 11.8 or 11.7, congrats! If you using the correect version! However if you are not, you will need to uninstall CUDA and install the appropriate version. To do that do this
pacman -R cuda cudnn
curl https://archive.org/download/archlinux_pkg_cuda/cuda-11.8.0-1-x86_64.pkg.tar.zst -O
sudo pacman -U cuda-11.8.0-1-x86_64.pkg.tar.zst
Then restart your computer. Do note that running nvidia-smi may provide a different version of CUDA. Check using nvcc --version!
Step 2: Installing Conda
From now on this should be almost the same as the installation instructions on the official README with slight modifications. I will be copying most of the instructions verbatim just in case things changes.
curl -sL "https://repo.anaconda.com/miniconda/Miniconda3-latest-Linux-x86_64.sh" > "Miniconda3.sh"
bash Miniconda3.sh
Step 2: Create a new conda environment
conda create -n textgen python=3.10.9
conda activate textgen
conda install -c conda-forge cudatoolkit-dev
Step 3: Install Pytorch (This is where things are different)
Ensure that you select the correct version of pytorch from this website. If you are on CUDA 11.7, choose CUDA 11.7 and CUDA 11.8 if you are using CUDA 11.8. The instruction below is for CUDA 11.8.
pip3 install torch torchvision torchaudio --index-url https://download.pytorch.org/whl/cu118
Step 4: Install the web UI
git clone https://github.com/oobabooga/text-generation-webui
cd text-generation-webui
git checkout 50c70e2
pip install -r requirements.txt
Step 5: Install GCC11
You will need GCC11 for this to work.
NOTE: DO NOT DOWNGRADE YOUR CURRENT GCC. JUST INSTALL ANOTHER ONE! THIS MIGHT CAUSE YOUR PC TO NOT BOOT!
This step might take awhile. Be patient 💀
yay -S gcc11
Step 6: Install GPTQ-for-LLaMA
We will need to temporarily setup CXX and CC for this to work.
cd text-generation-webui
mkdir repositories
git clone https://github.com/qwopqwop200/GPTQ-for-LLaMa.git -b cuda
cd GPTQ-for-LLaMa
git checkout 81fe867
export CXX=/usr/bin/gcc-11
export CC=/usr/bin/gcc-11
python setup_cuda.py install
Step 7: Download a model
This tutorial will showcase TheBloke/Wizard-Vicuna-7B-Uncensored-GPTQ
cd ../../
python ./download-model.py TheBloke/Wizard-Vicuna-7B-Uncensored-GPTQ
Step 8: Running the model
python server.py --model TheBloke_vicuna-7B-1.1-GPTQ-4bit-128g --wbits 4 --groupsize 128 --api --verbose --listen
Done!
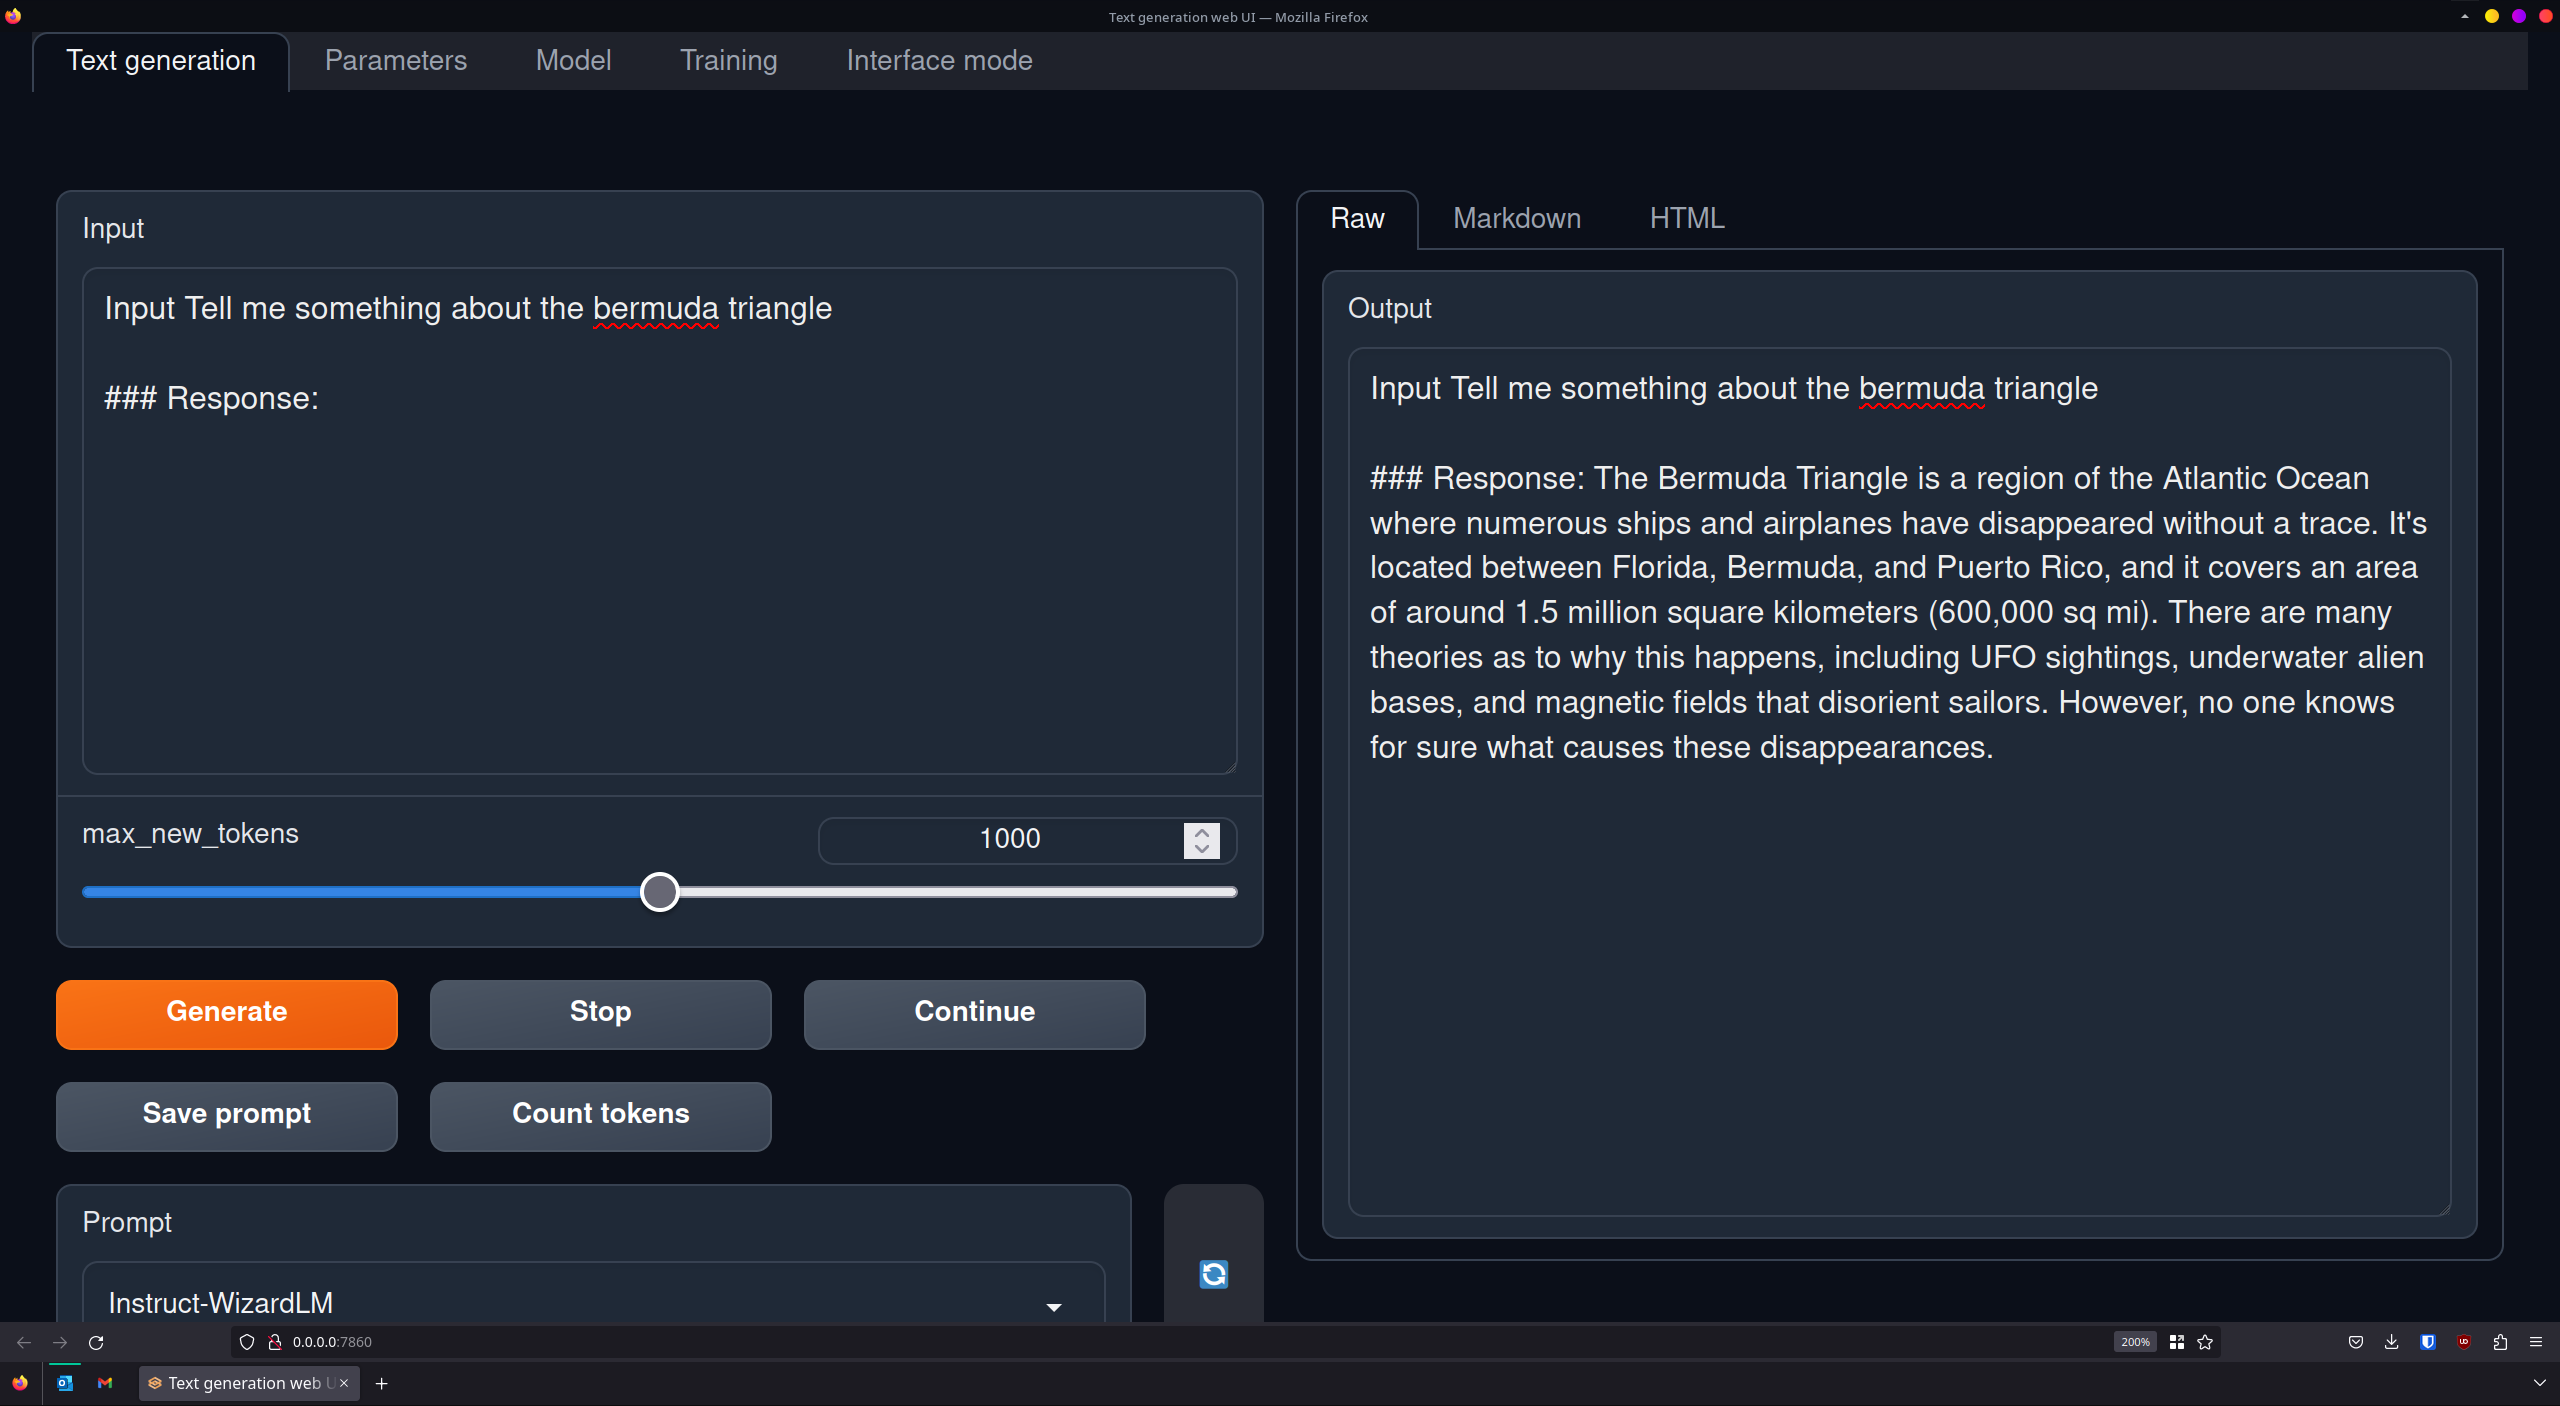
Here's a screenshot demonstrating the webui! 
Showcase
